If you’ve ever craved a comforting, hearty, and satisfying meal, cabbage rolls are likely already on your radar. Inspired by the cookbook Cabbage Roll Creations: 86 Quick & Easy Recipes (Paperback – October 10, 2024), this guide dives deep into the world of cabbage rolls—offering you everything from classic flavors to modern, creative twists.
Cabbage rolls are beloved across cultures, from Eastern European stuffed cabbage to lighter Mediterranean-inspired versions. What makes them truly special is their versatility: they can be filled with meat, grains, vegetables, or a combination of all three. This article brings you the essence of those 86 recipes, simplified into practical, easy-to-follow ideas for your everyday kitchen.
Why You’ll Love These Cabbage Roll Creations
The beauty of recipes inspired by Cabbage Roll Creations: 86 Quick & Easy Recipes lies in their balance between simplicity and flavor. These cabbage roll creations are designed to be approachable for beginners while still offering exciting options for experienced home cooks.
Here’s why you’ll love making these cabbage roll recipes:
- Easy to prepare with everyday ingredients
- Perfect for meal prep and batch cooking
- Customizable for different diets (low-carb, vegetarian, gluten-free)
- Comforting, hearty, and satisfying
- Family-friendly and freezer-friendly
These cabbage roll creations make it easy to turn simple cabbage into something truly extraordinary.
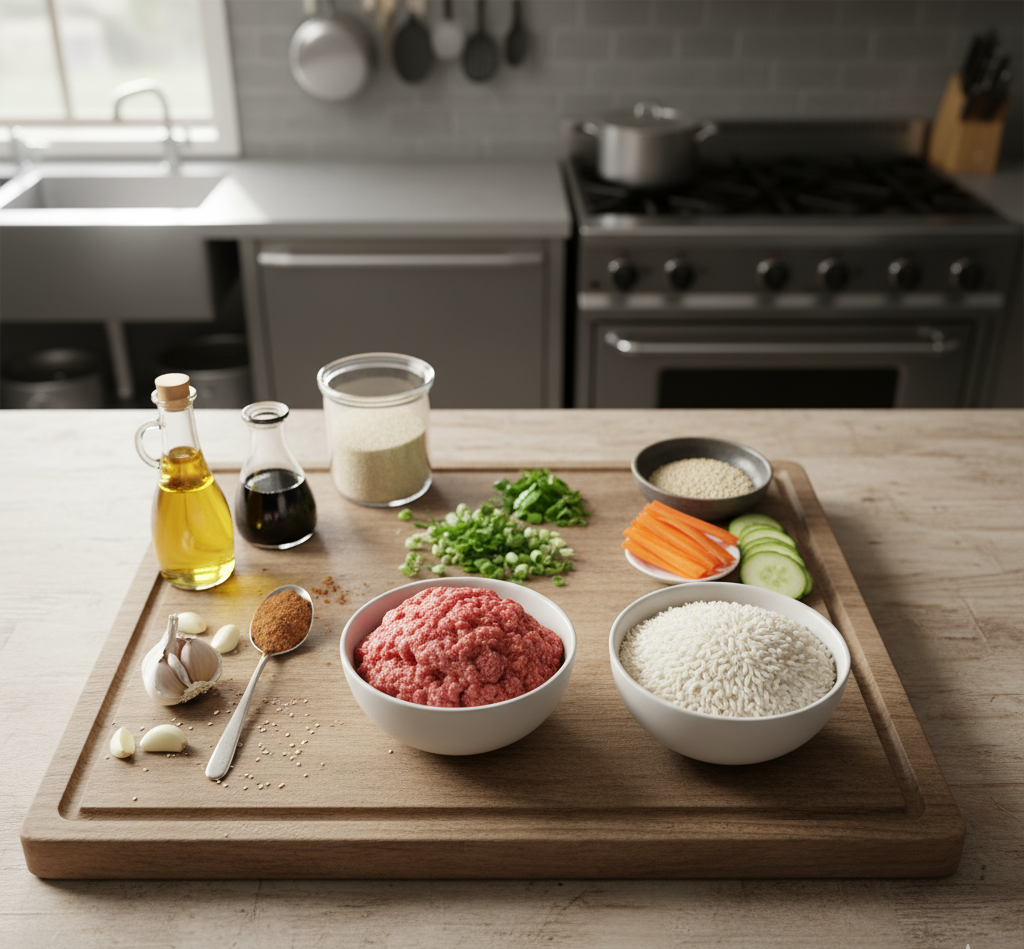
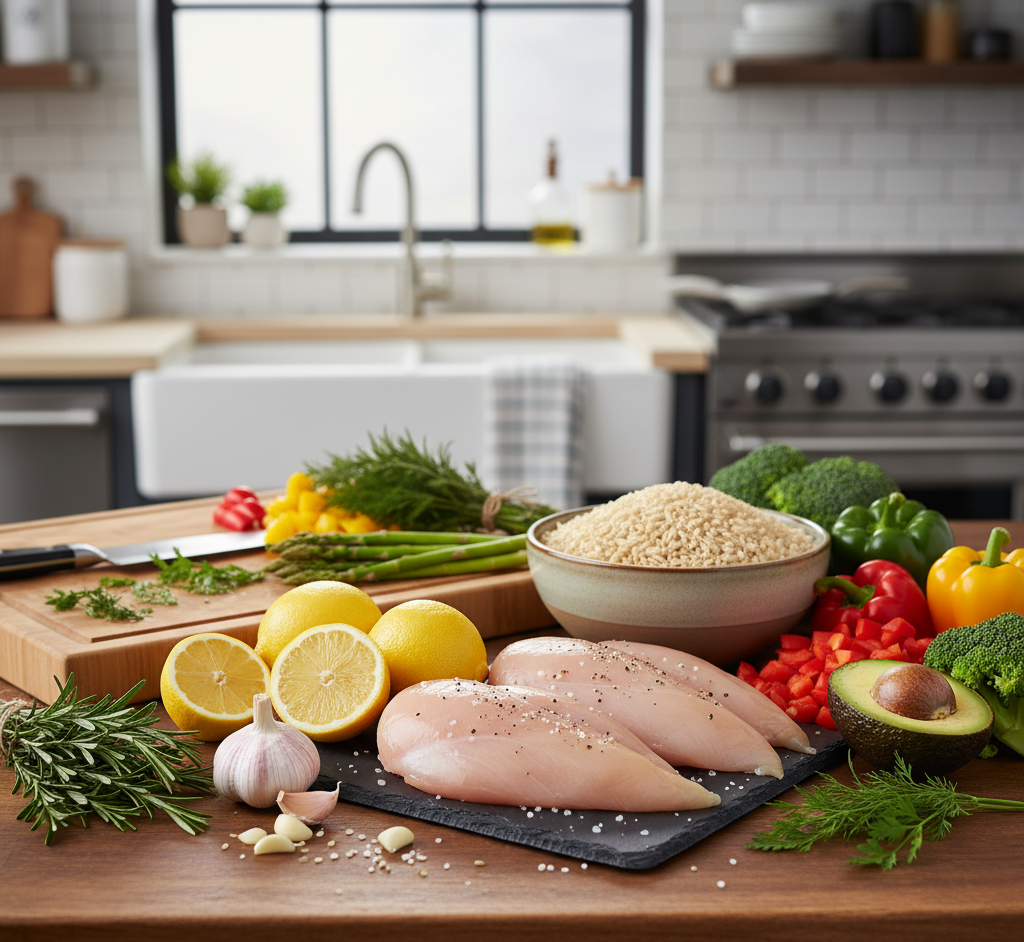
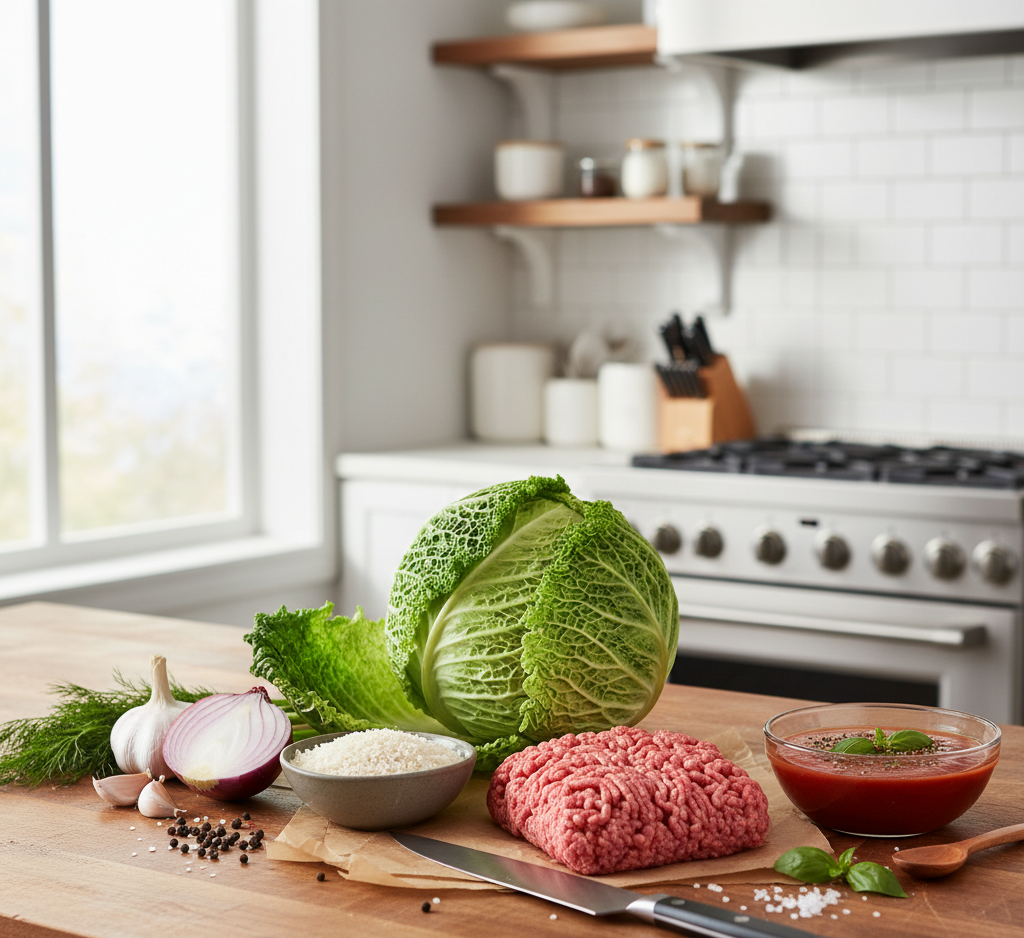
Ingredients
Creating delicious cabbage roll recipes starts with simple, wholesome ingredients.
Main Ingredients
- 1 large green cabbage
- 1 lb ground beef or turkey
- 1 cup cooked rice or quinoa
- 1 small onion (finely chopped)
- 2 cloves garlic (minced)
- 1 egg
- 2 cups tomato sauce
- 1 tablespoon olive oil
- Salt, pepper, and paprika
These ingredients form the base of classic cabbage roll creations, but they can easily be adapted to suit your preferences.
Ingredient Notes
When making recipes inspired by Cabbage Roll Creations: 86 Quick & Easy Recipes, choosing the right cabbage is key. Green cabbage is the most common because its leaves are flexible and easy to roll once softened.
For the filling, ground beef provides richness, while turkey offers a leaner option. Rice adds texture and helps bind the filling, but quinoa or cauliflower rice can be used for a healthier twist. The tomato sauce brings everything together with a tangy, savory finish.
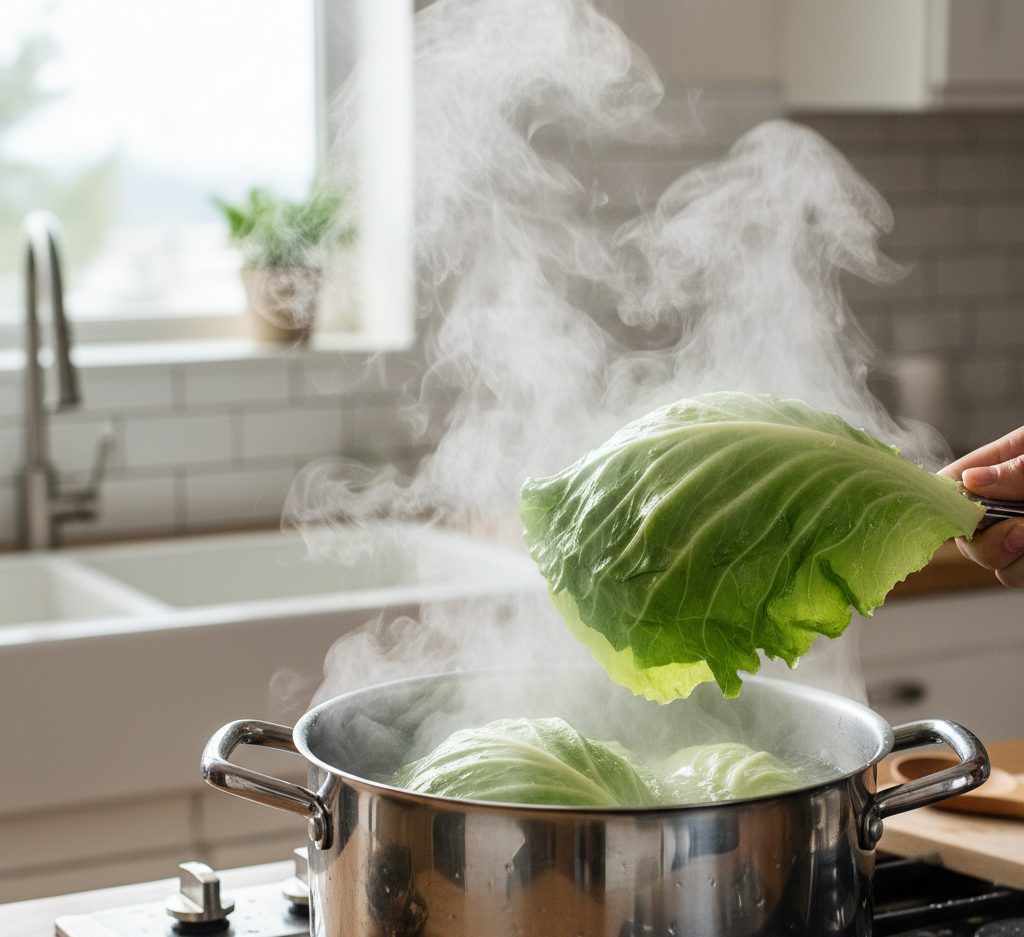
Step-by-Step Instructions
Step 1: Prepare the Cabbage
Bring a large pot of water to a boil and carefully remove whole cabbage leaves. Blanch them for 2–3 minutes until soft and pliable.
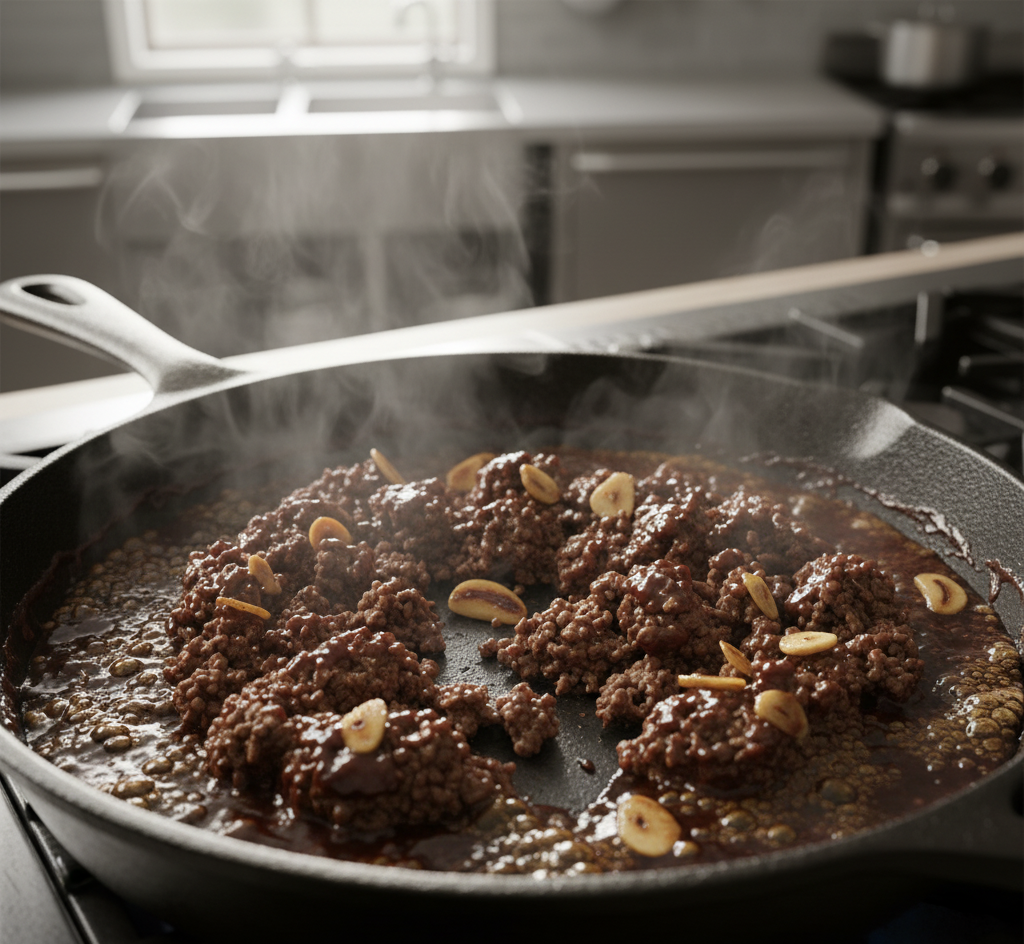
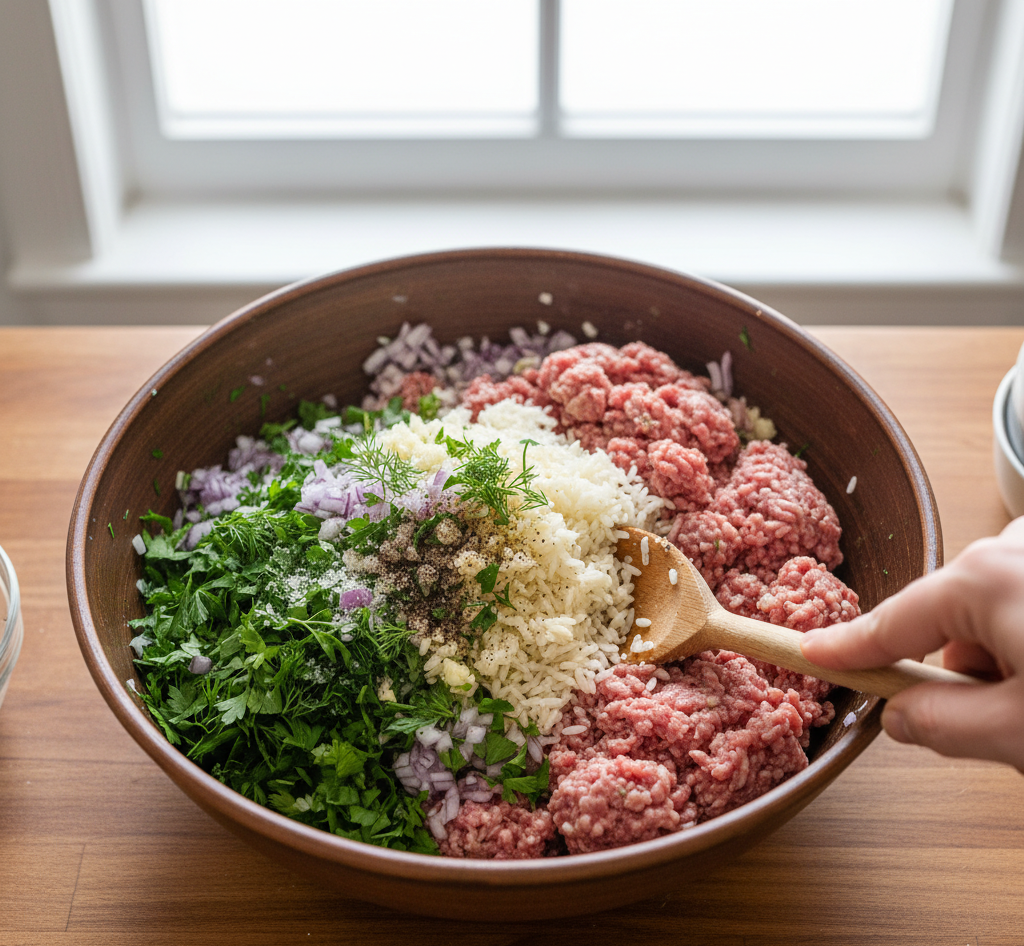
Step 2: Make the Filling
In a bowl, mix ground meat, cooked rice, onion, garlic, egg, and seasonings. Combine until well blended.
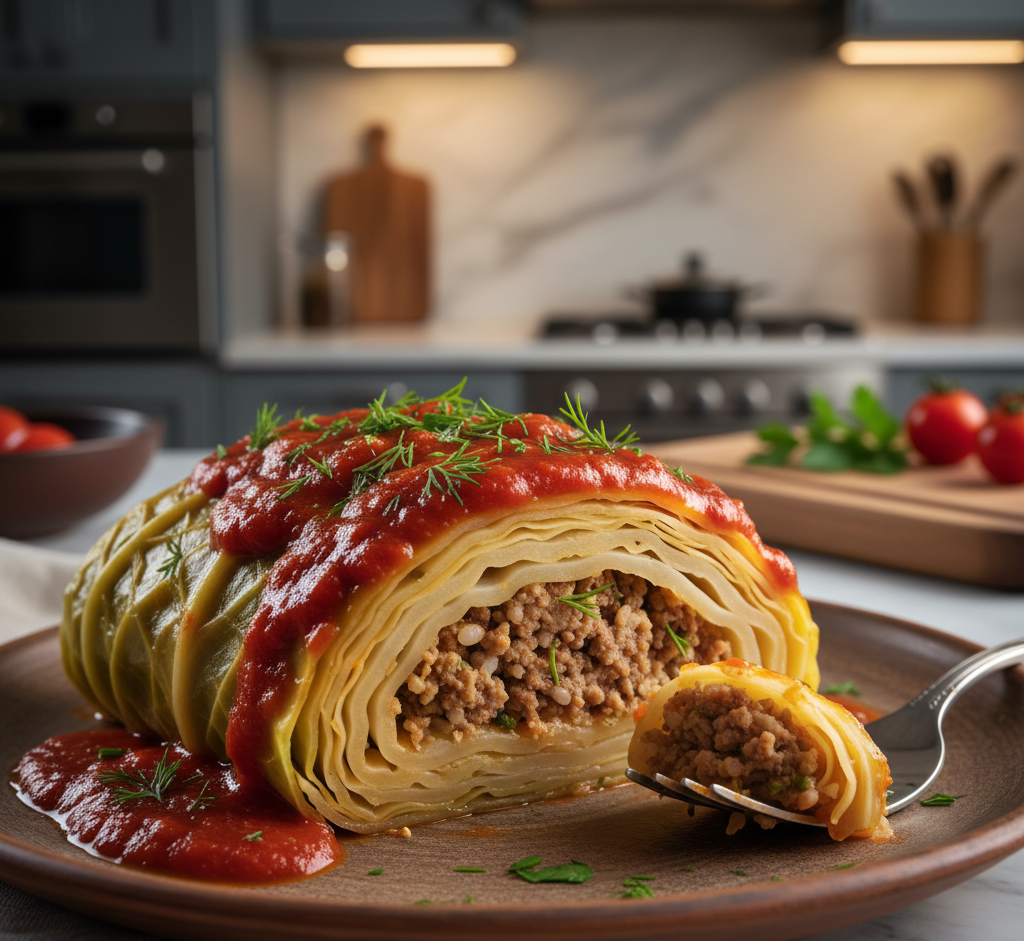
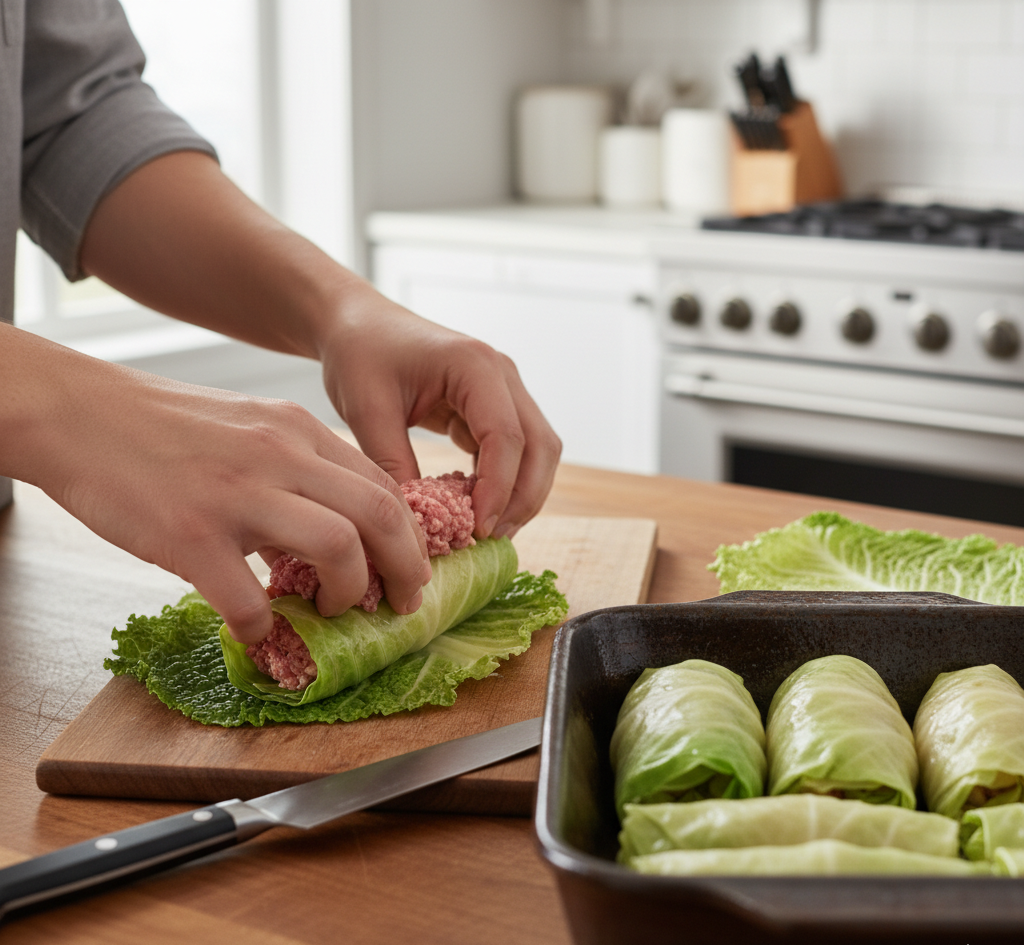
Step 3: Assemble the Rolls
Place a portion of filling onto each cabbage leaf. Fold the sides inward and roll tightly.
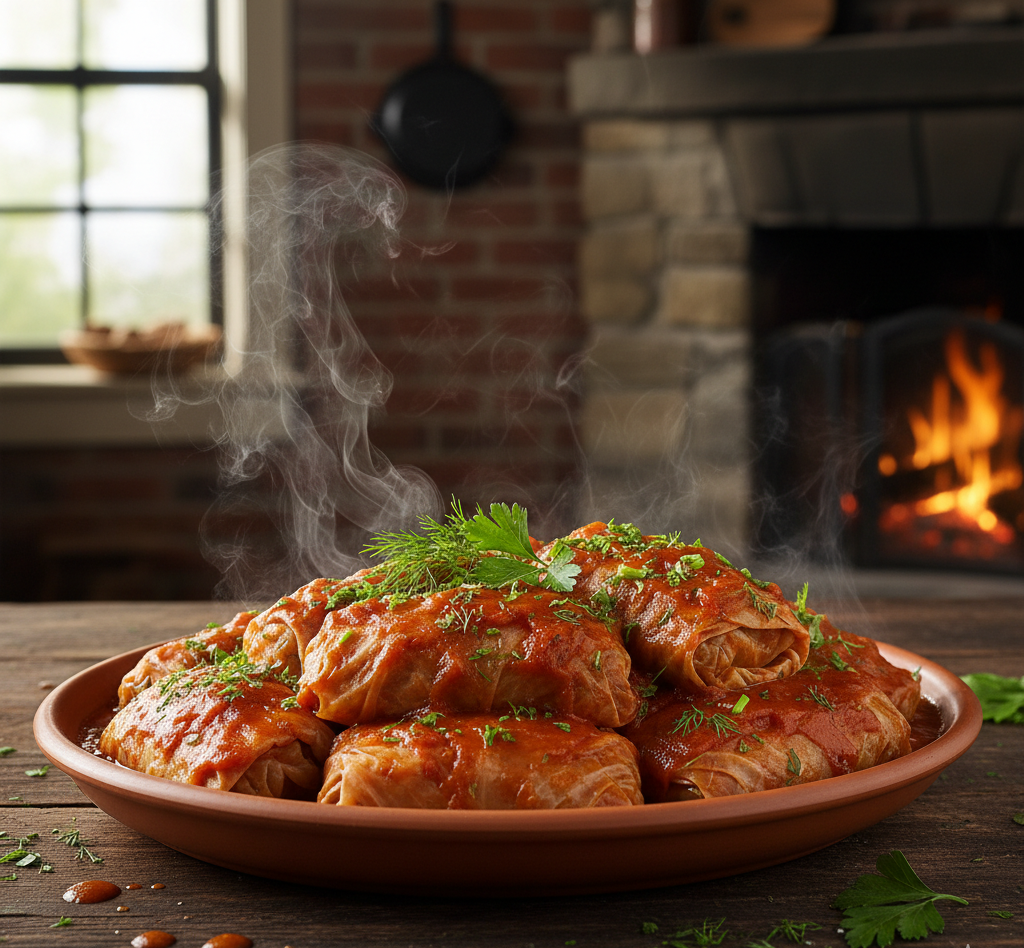
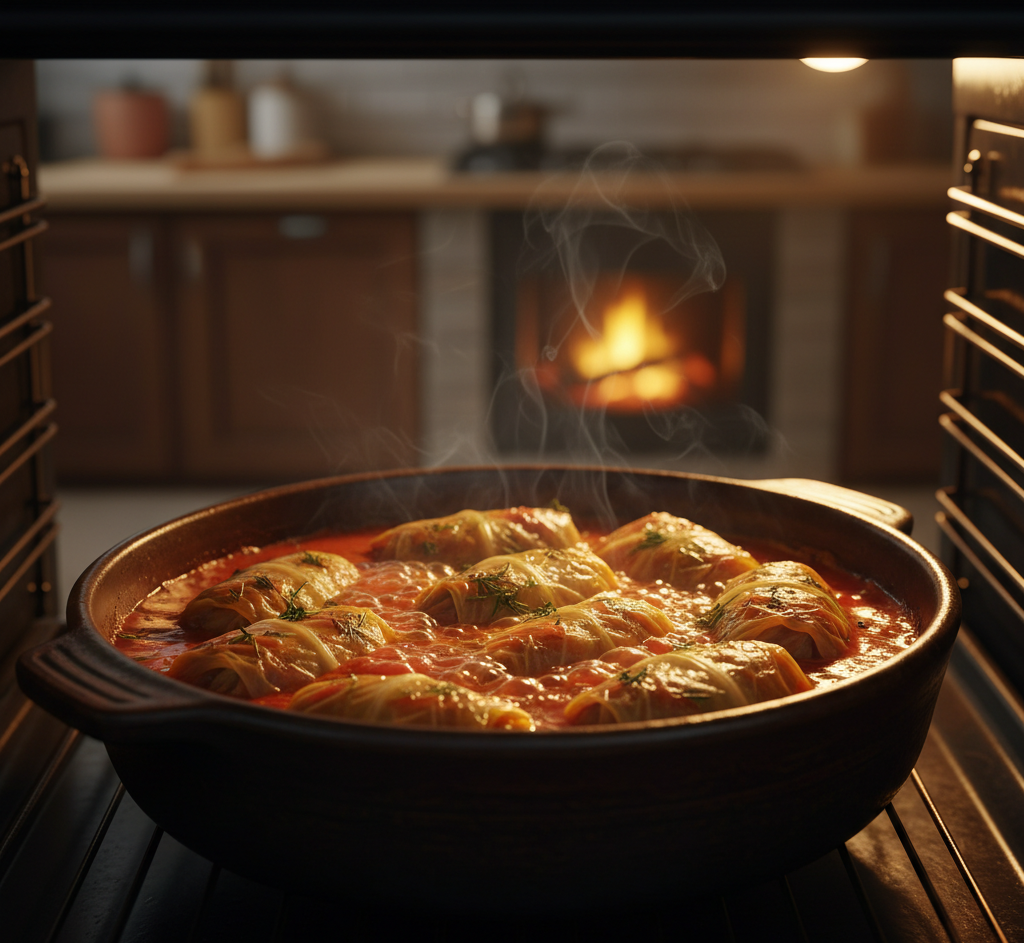
Step 4: Cook the Rolls
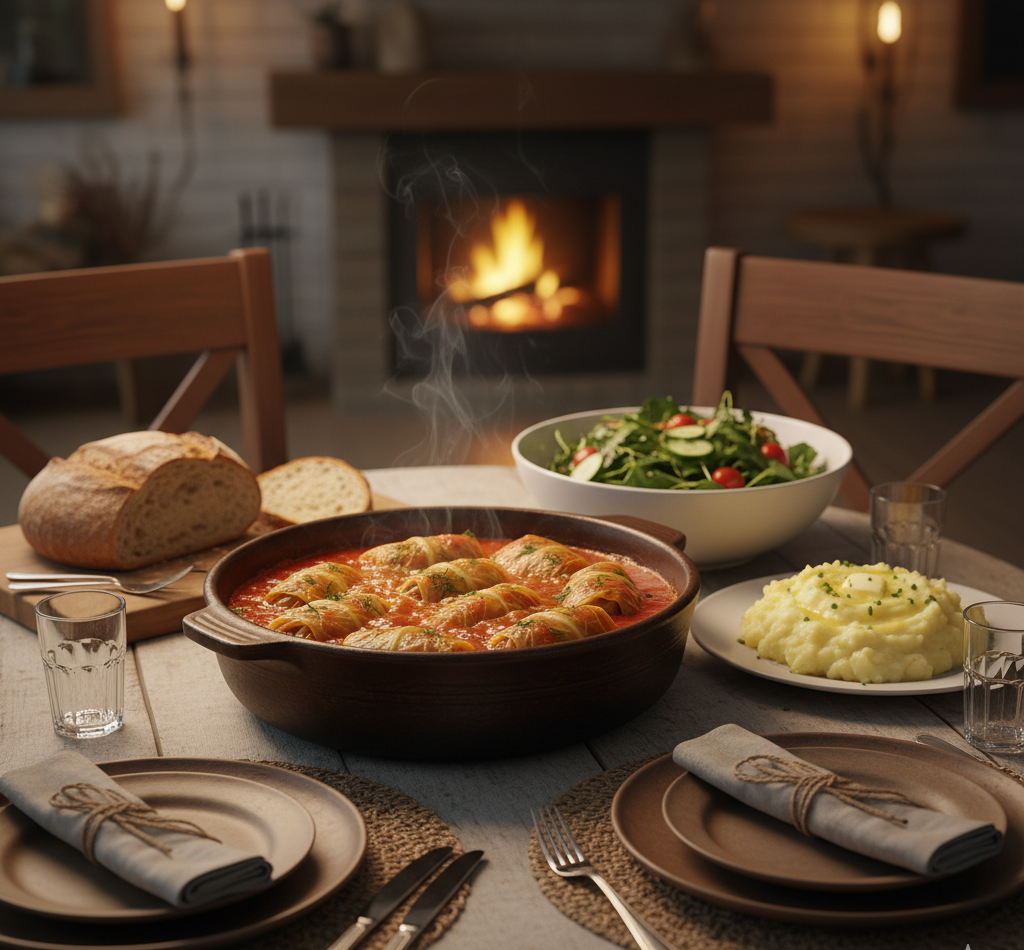
Arrange the rolls in a baking dish, cover with tomato sauce, and bake at 350°F (175°C) for 45–60 minutes.
Tips for Perfect Results
To master cabbage roll recipes from Cabbage Roll Creations: 86 Quick & Easy Recipes, follow these expert tips:
- Don’t overfill the rolls to prevent breaking
- Use softened cabbage leaves for easy rolling
- Layer extra cabbage leaves at the bottom of the dish
- Let the rolls rest before serving for better texture
- Season generously for rich flavor
These tips ensure your cabbage roll creations turn out perfect every time.
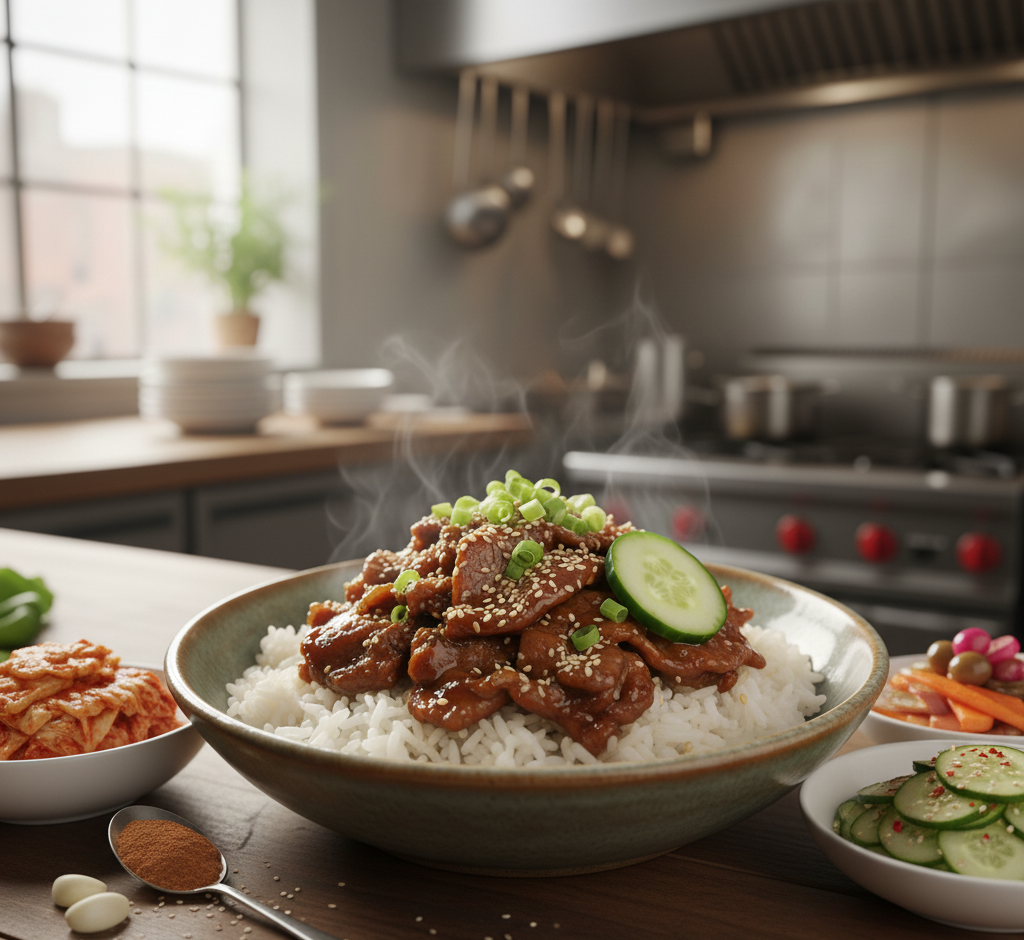
Variations
One of the highlights of Cabbage Roll Creations: 86 Quick & Easy Recipes is the variety of creative options.
Try these variations:
- Vegetarian rolls: use lentils, mushrooms, and rice
- Low-carb version: replace rice with cauliflower rice
- Spicy rolls: add chili flakes or hot sauce
- Mediterranean style: include herbs, feta, and olive oil
- Asian-inspired: use soy sauce, ginger, and sesame
These variations keep your cabbage roll creations exciting and diverse.
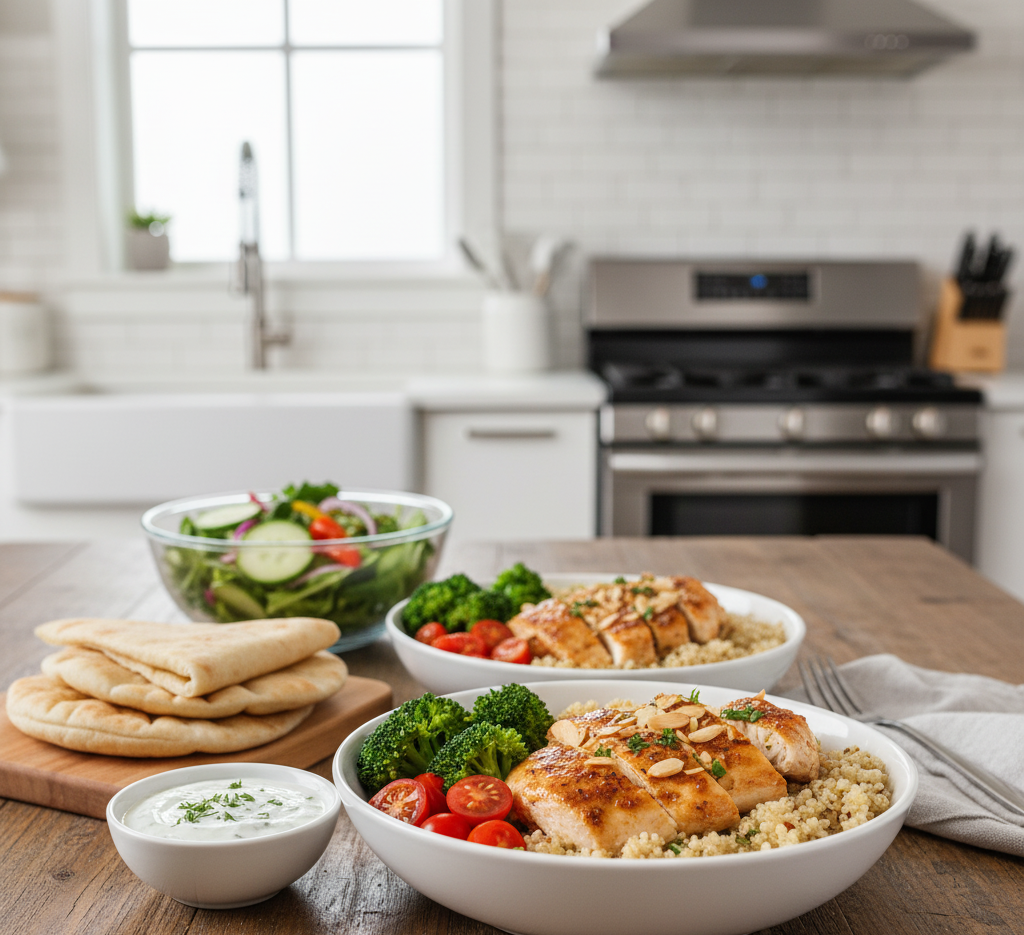
What to Serve With It
Cabbage roll creations pair wonderfully with simple, complementary sides.
Serving ideas:
- Mashed potatoes
- Crusty bread
- Fresh green salad
- Roasted vegetables
- Yogurt or sour cream
These sides balance the richness of the cabbage rolls and complete the meal.