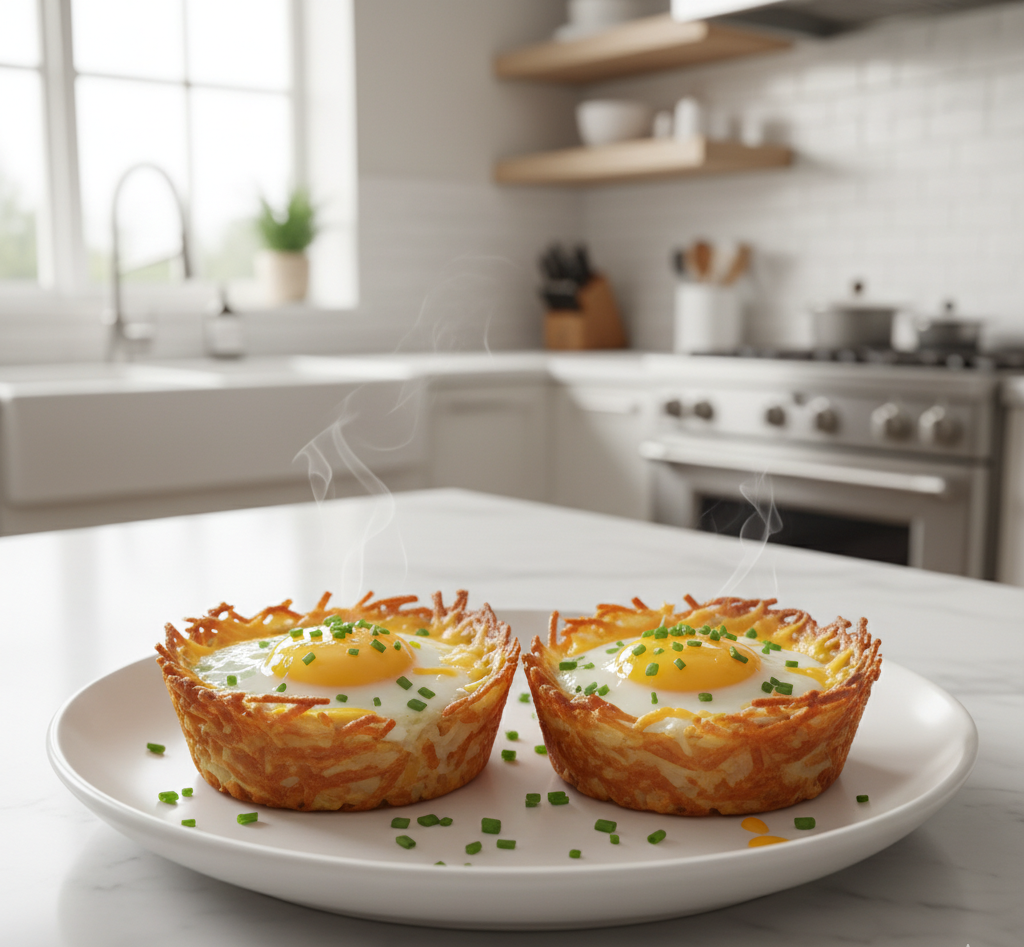
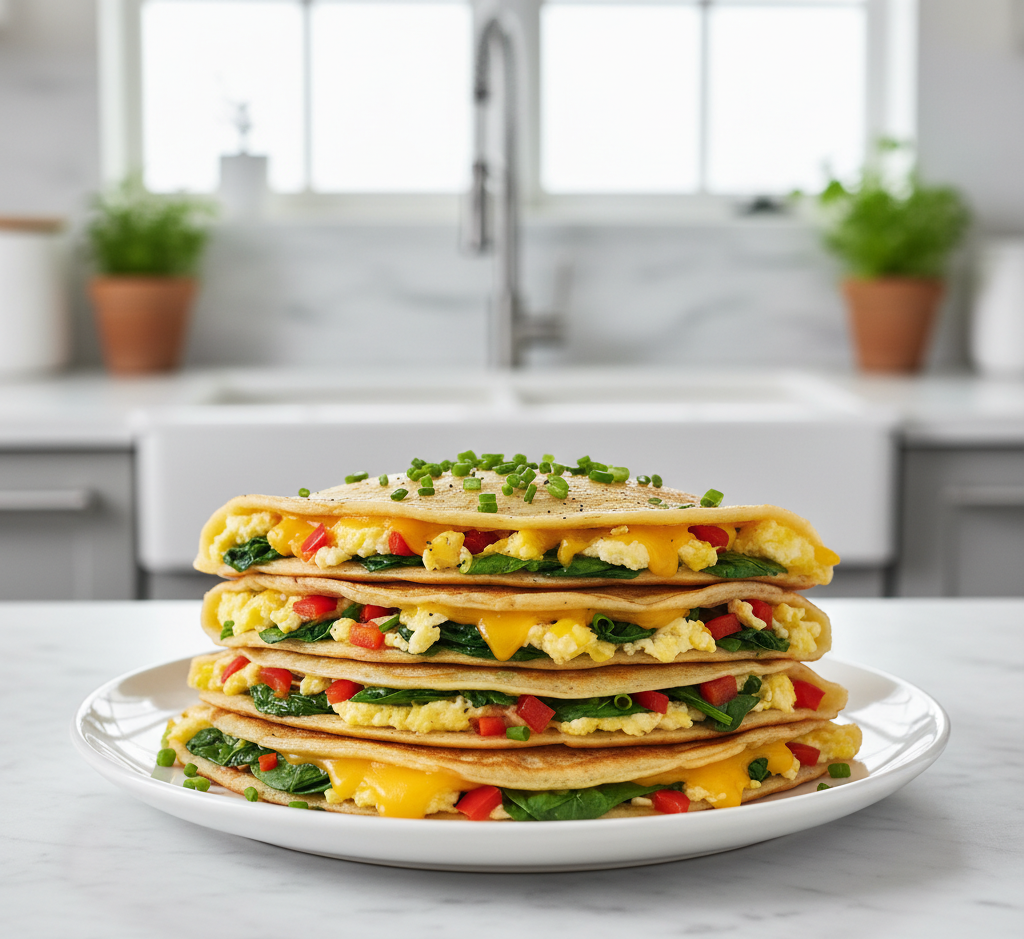
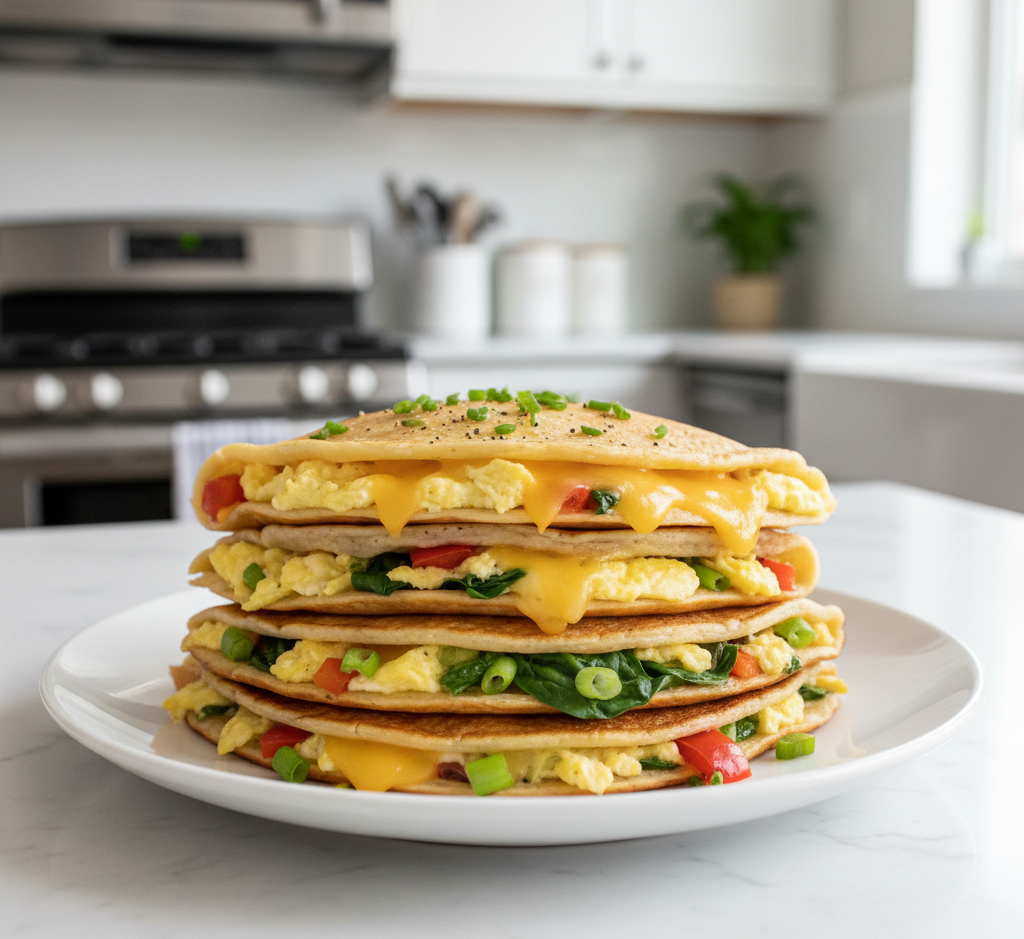
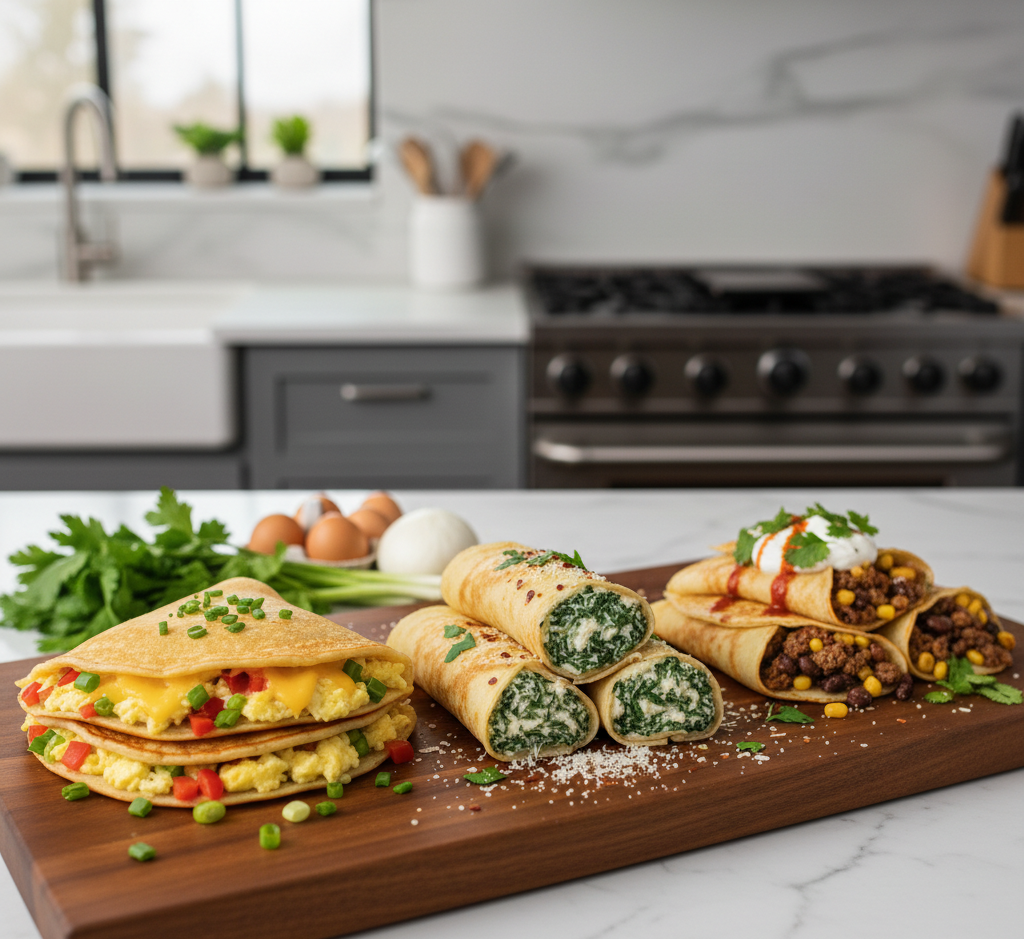
If you’re searching for a healthy, satisfying, and easy breakfast, Baked Cottage Cheese Eggs: The Ultimate Protein-Packed Breakfast is exactly what you need. This recipe combines fluffy baked eggs with creamy cottage cheese to create a dish that is rich in protein, naturally low in carbs, and perfect for busy mornings. It’s an ideal option for anyone looking to fuel their day with clean energy while enjoying a comforting, homemade meal.
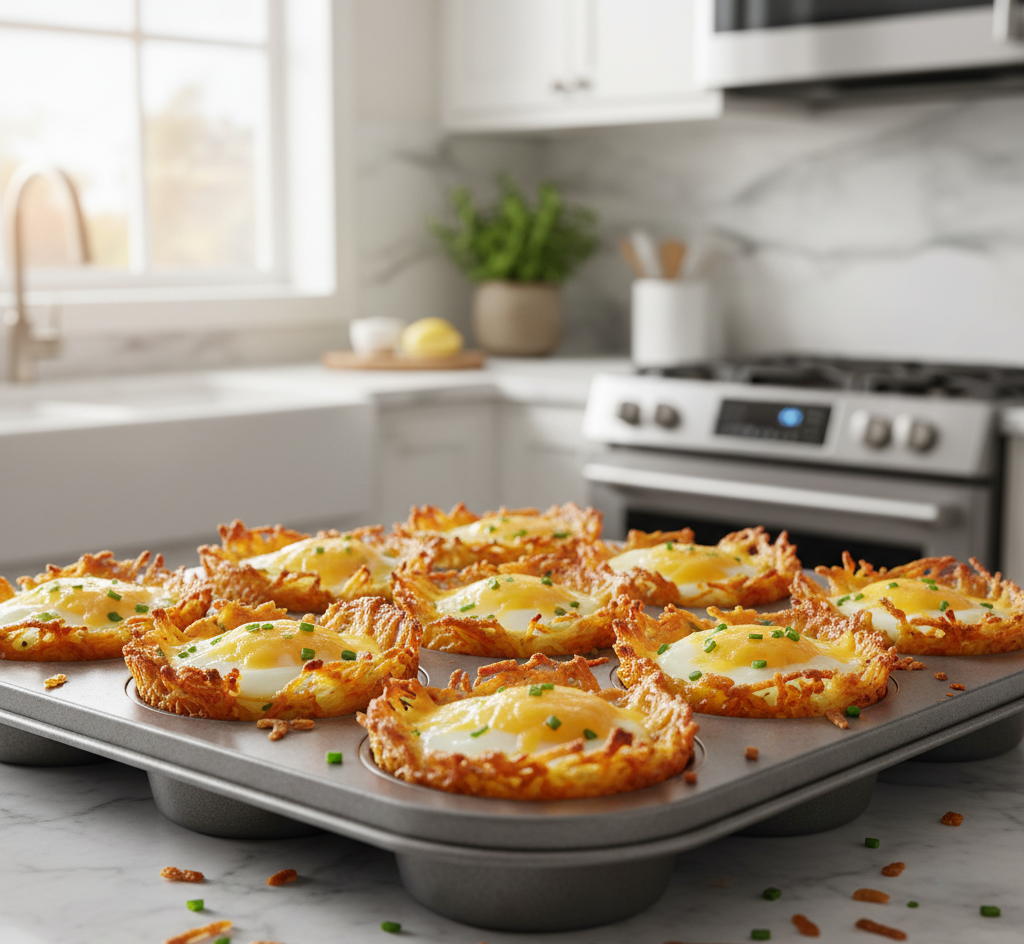
This dish is especially popular with fitness lovers, meal preppers, and families who want something warm and nutritious without standing over the stove. Whether you bake it in a casserole dish or in individual ramekins, baked cottage cheese eggs deliver big flavor with minimal effort.
Why You’ll Love This Recipe
There are countless reasons to make baked cottage cheese eggs part of your breakfast routine. Not only is this recipe incredibly easy, but it’s also flexible and budget-friendly. You can prepare it ahead of time, customize it with your favorite vegetables, and enjoy it throughout the week.
You’ll love this recipe because:
-
It’s high in protein and keeps you full longer
-
It’s perfect for meal prep
-
It uses simple, affordable ingredients
-
It’s great for low-carb and keto-style diets
-
It’s family-friendly and customizable
With just one dish, you get nutrition, flavor, and convenience all in one bite.
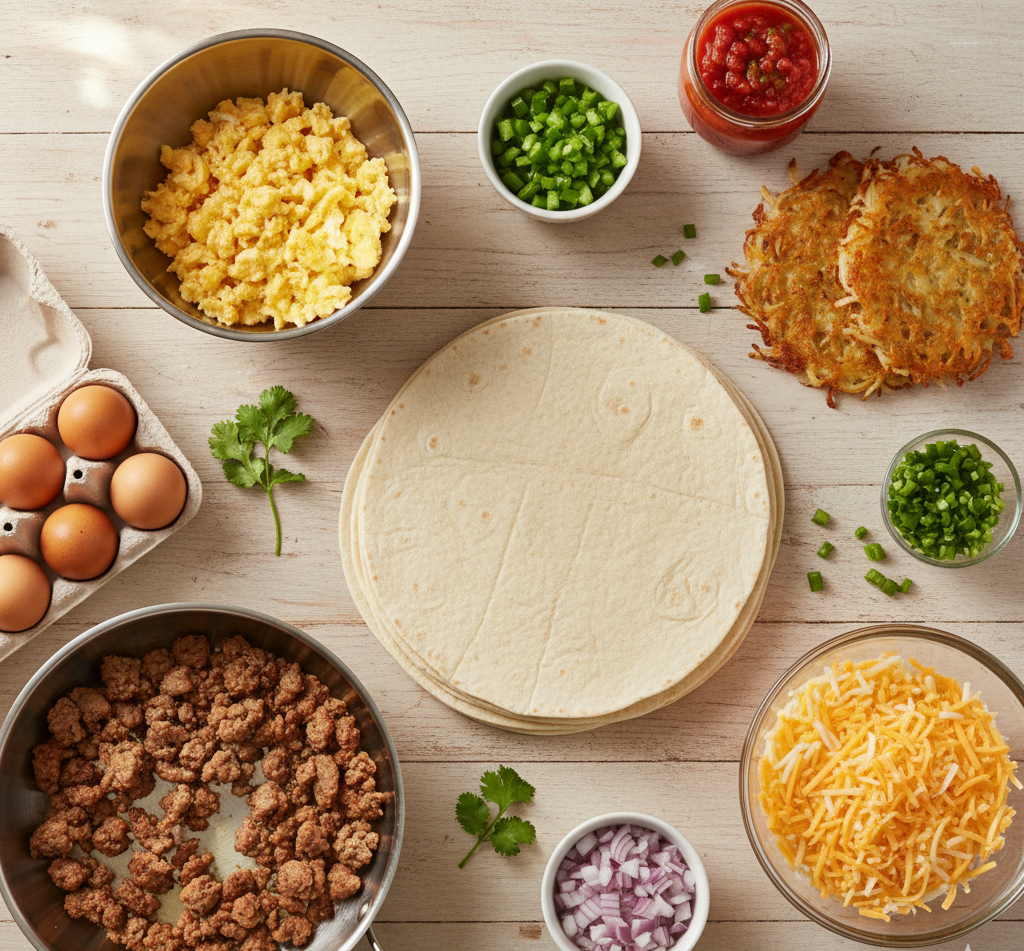
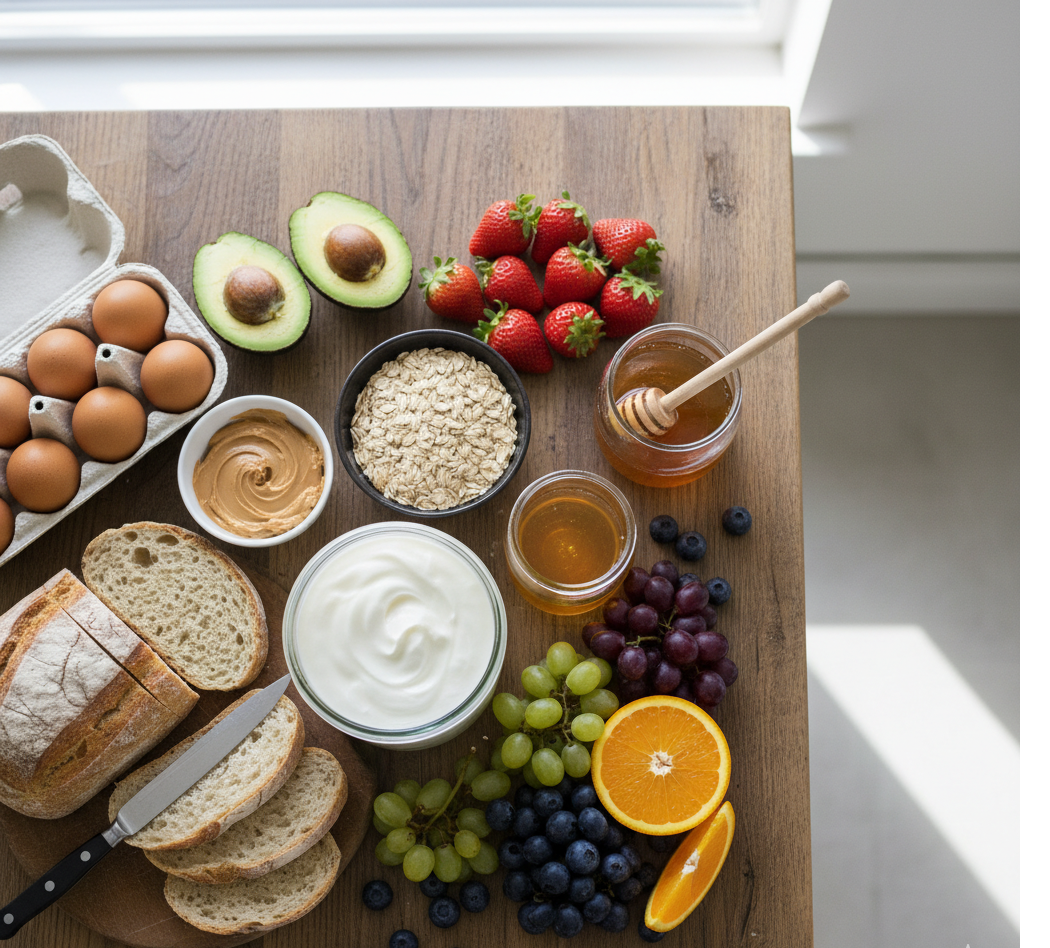
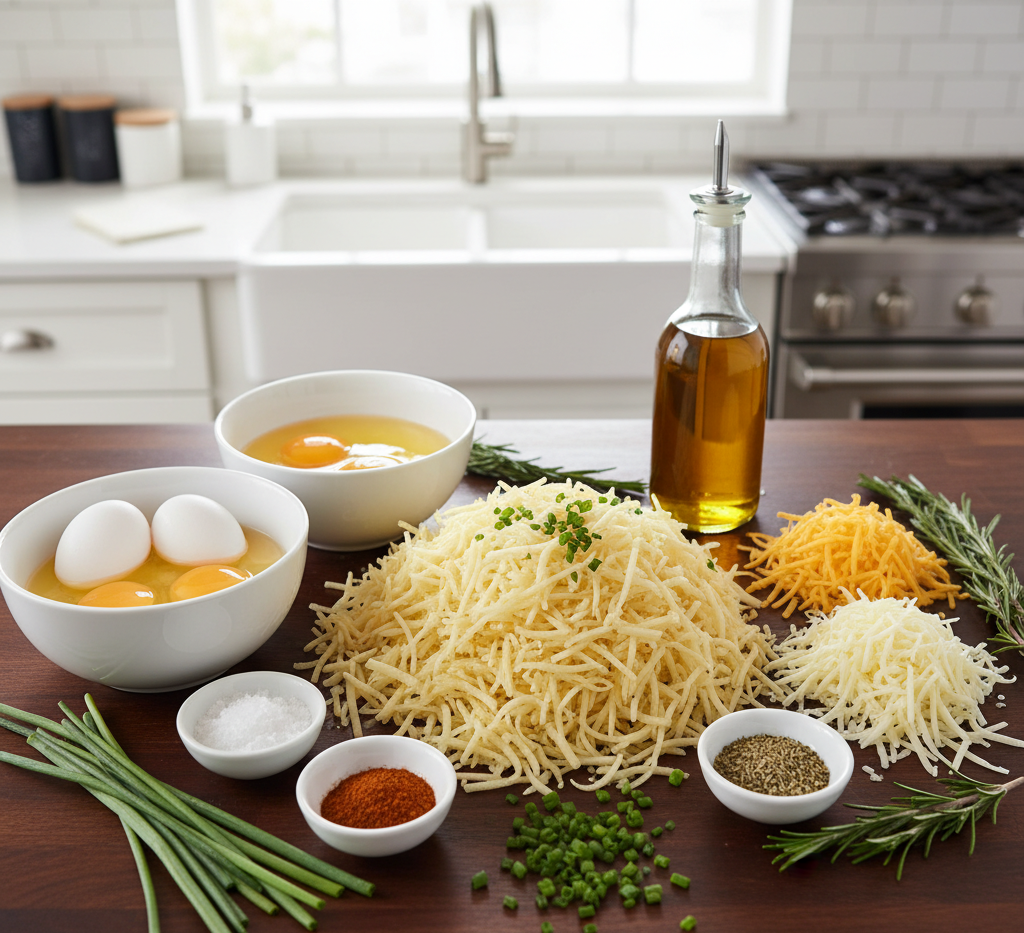
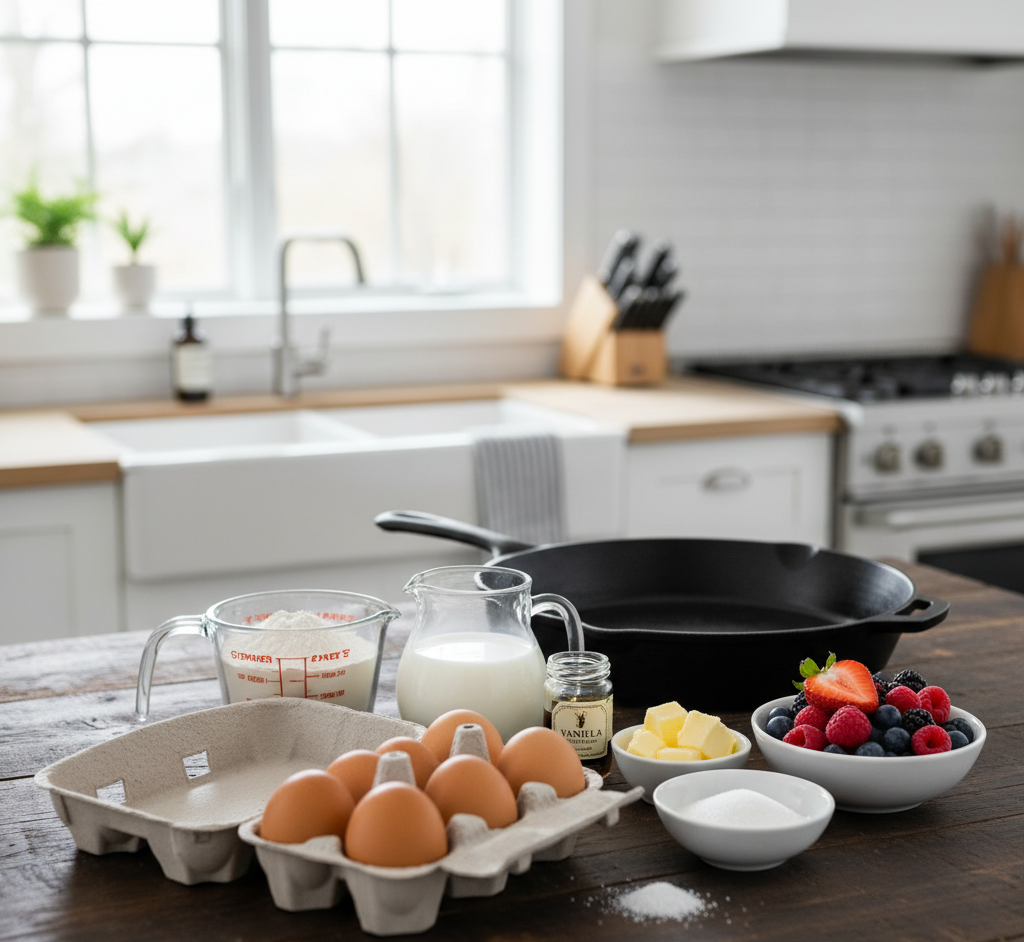
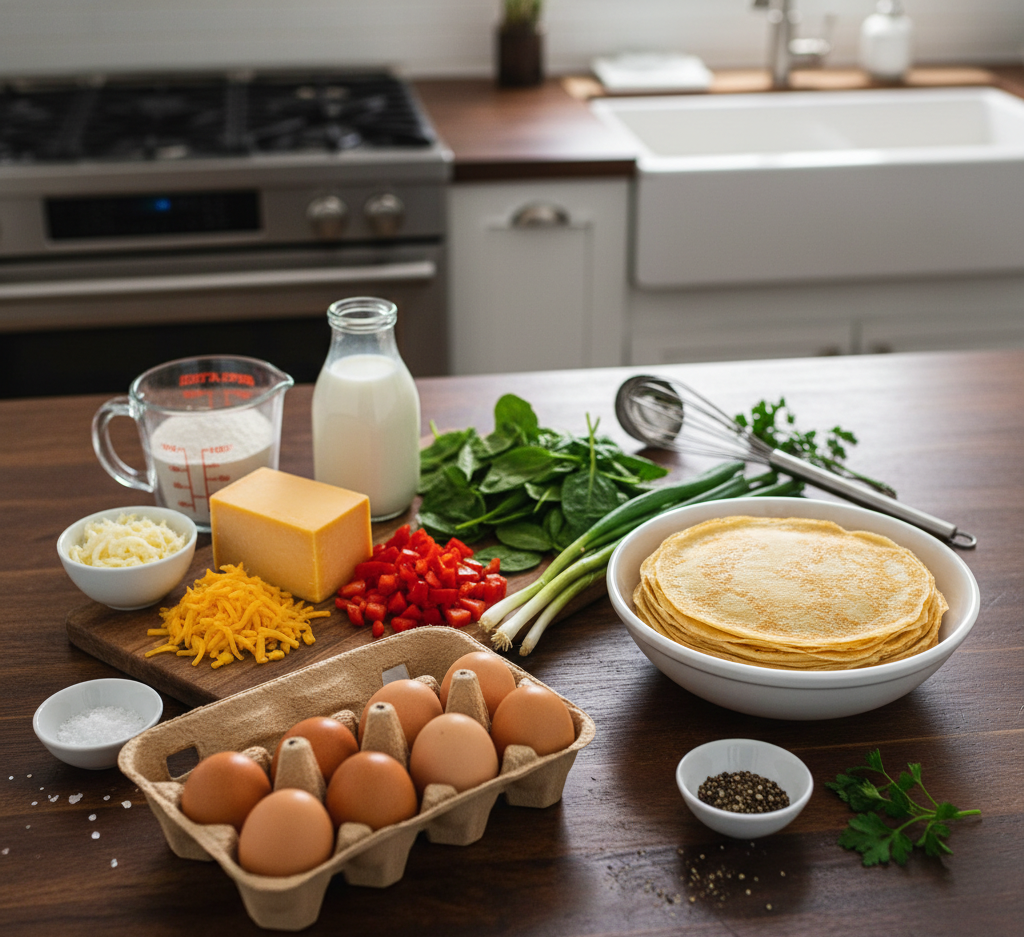
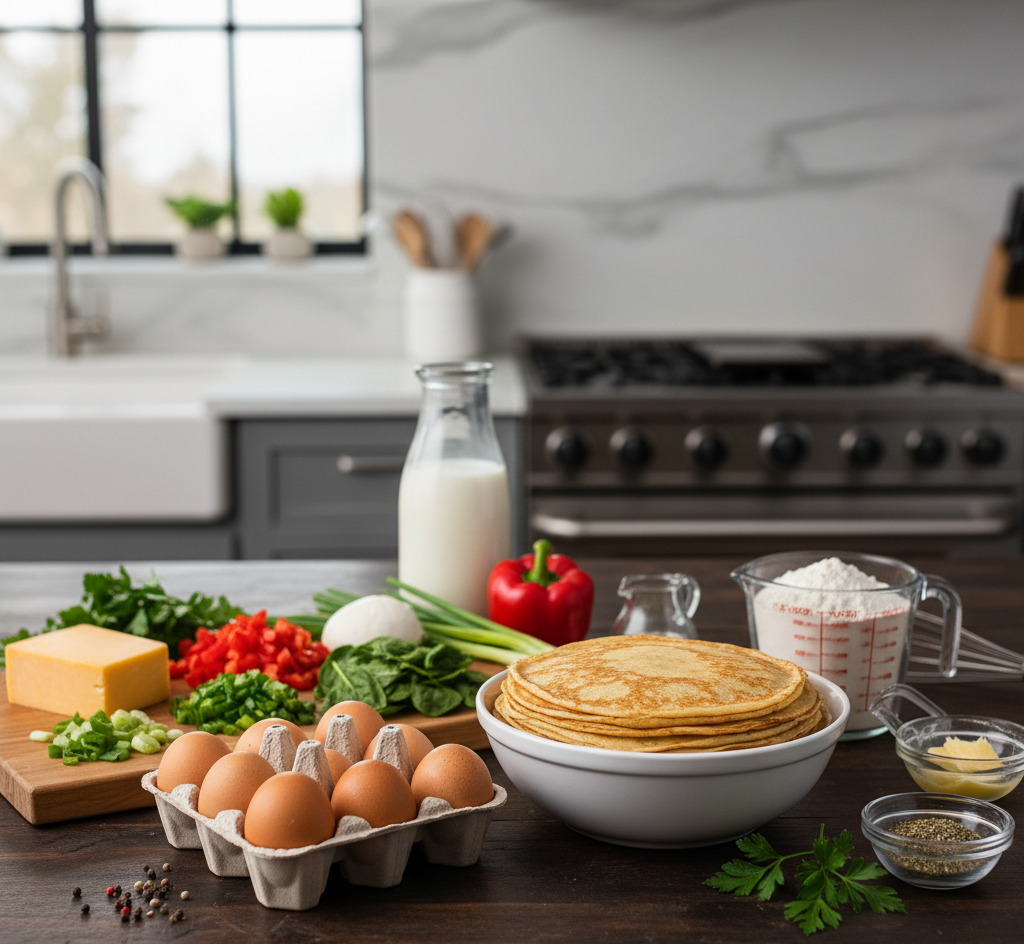
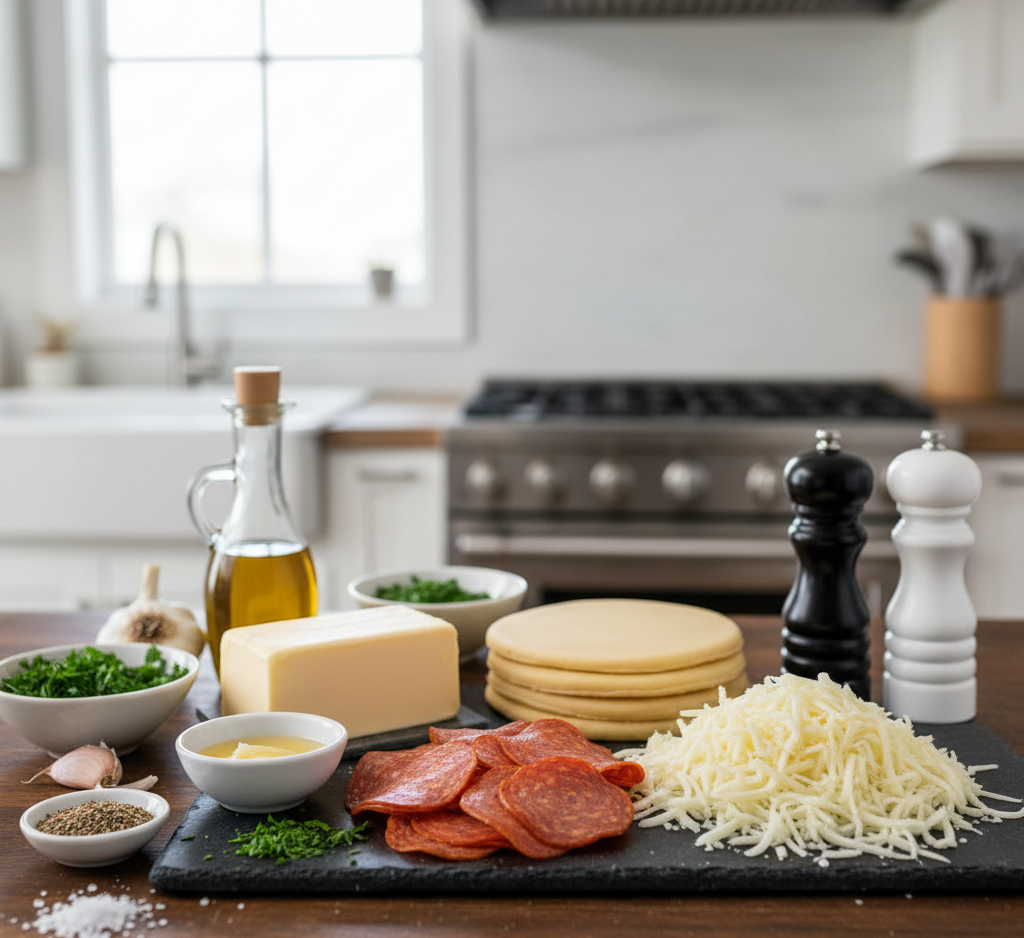
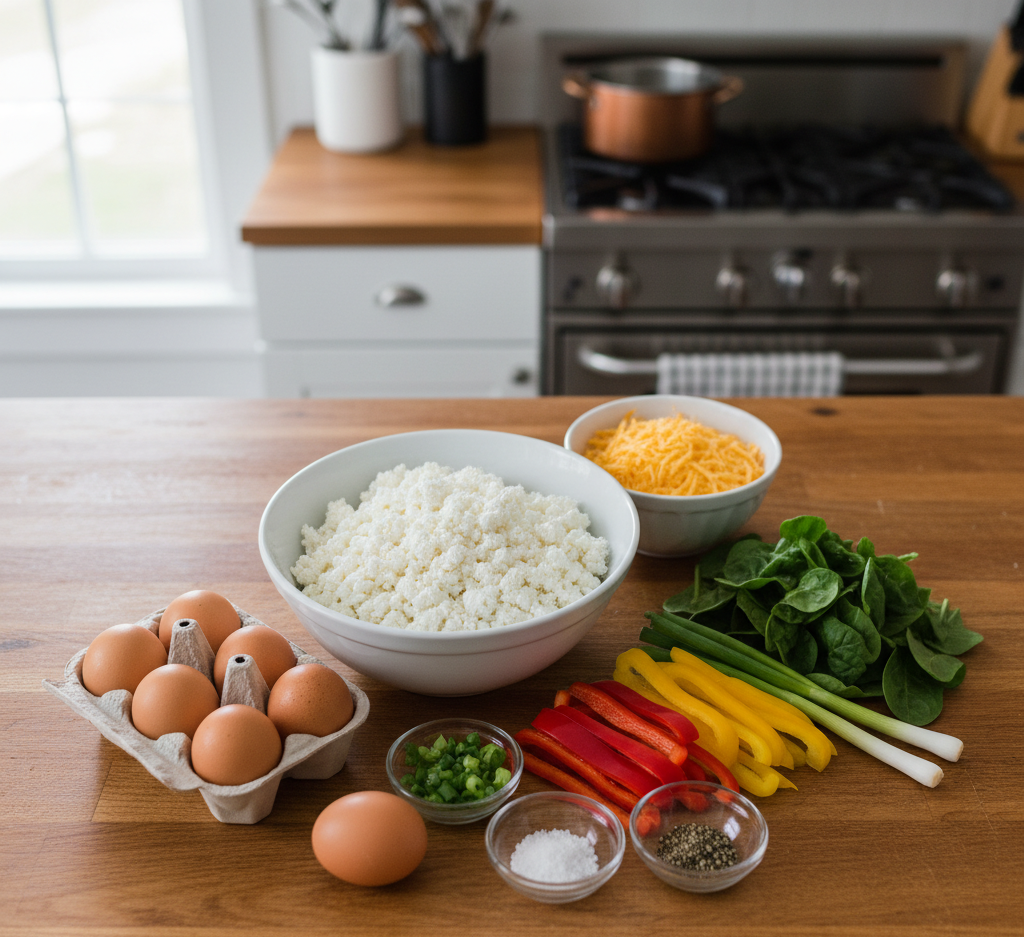
Ingredients
To make this protein-packed breakfast, you’ll need:
-
6 large eggs
-
1 cup cottage cheese
-
½ cup shredded cheddar or mozzarella cheese
-
¼ cup chopped spinach
-
¼ cup diced bell peppers
-
2 tablespoons chopped green onions
-
Salt and black pepper to taste
-
Optional: garlic powder, paprika, or red pepper flakes
These ingredients come together to create a creamy, fluffy texture that feels indulgent while staying healthy.
Ingredient Notes
Eggs
Eggs are the backbone of this recipe, providing structure and high-quality protein. Use fresh, large eggs for the best texture and flavor.
Cottage Cheese
Cottage cheese adds creaminess and boosts protein without making the dish heavy. Full-fat cottage cheese gives richer flavor, while low-fat works well for lighter meals.
Cheese
Cheddar adds sharpness, while mozzarella melts smoothly. You can also use a blend of cheeses for extra depth.
Vegetables
Spinach and bell peppers add color, nutrients, and a subtle sweetness. Feel free to substitute with mushrooms, zucchini, or tomatoes.
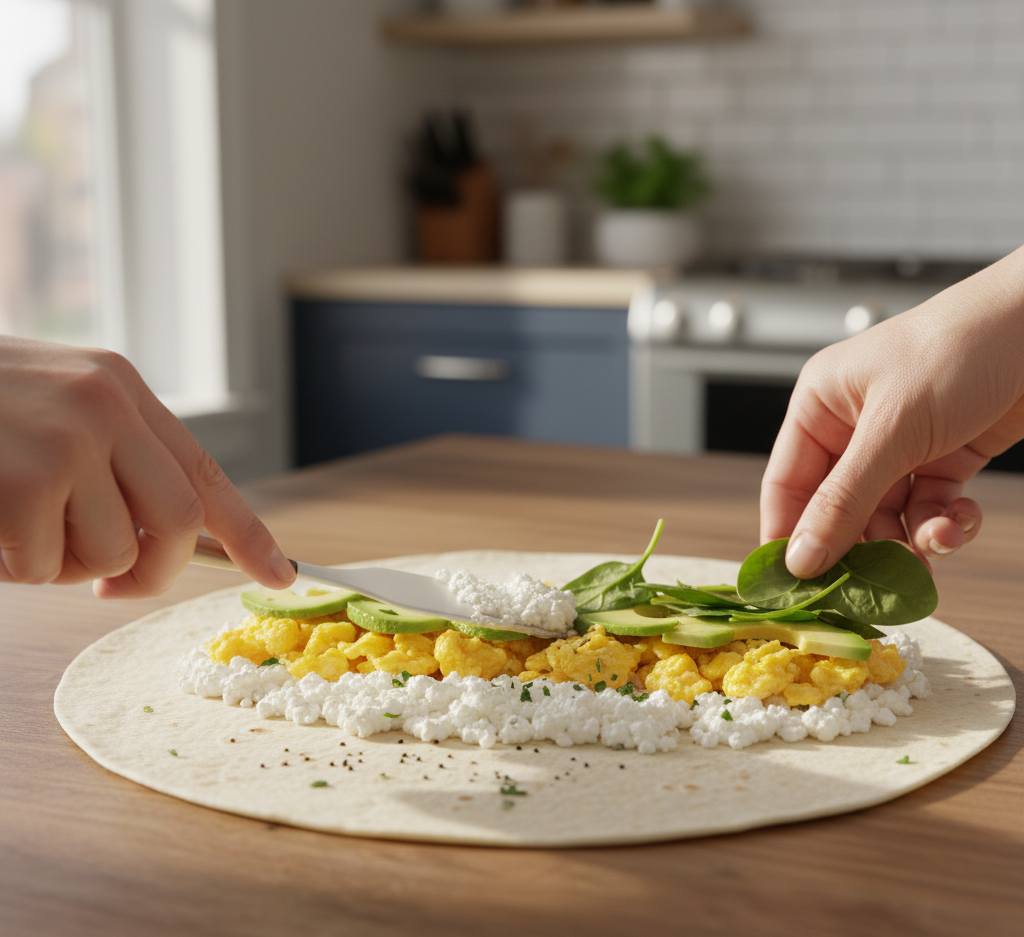
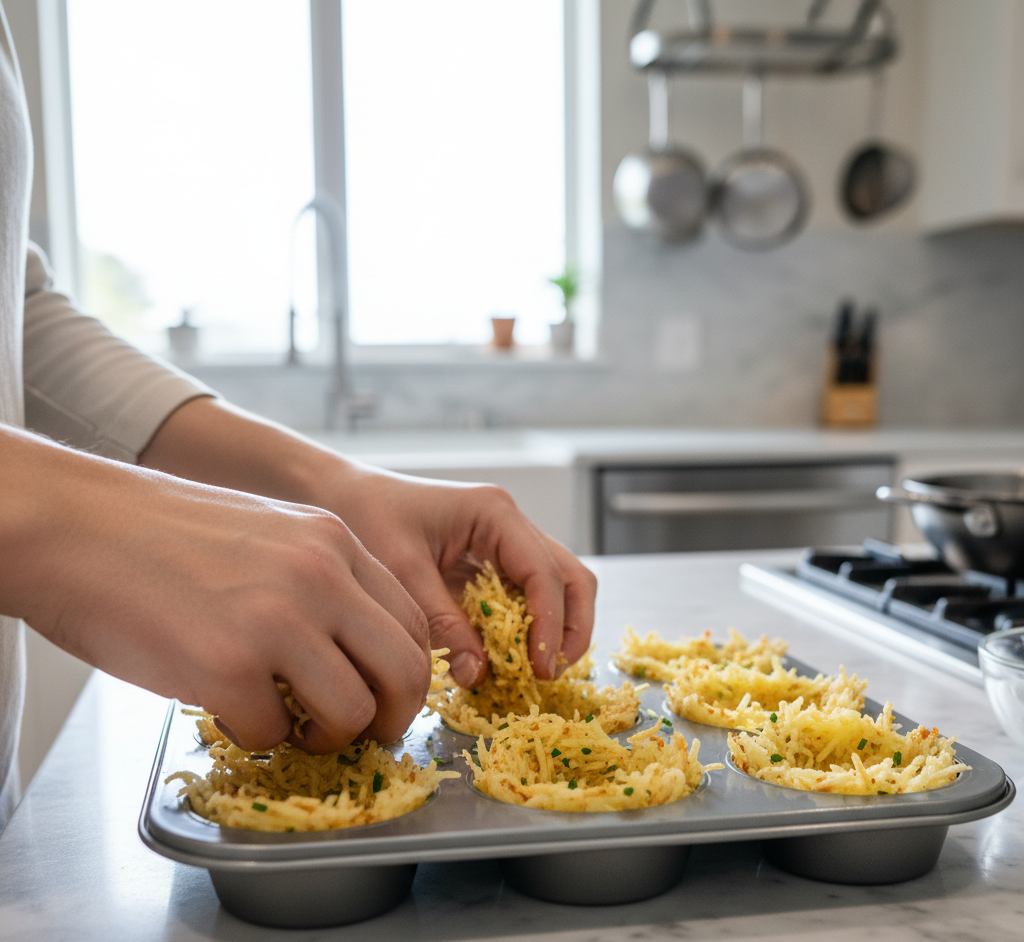
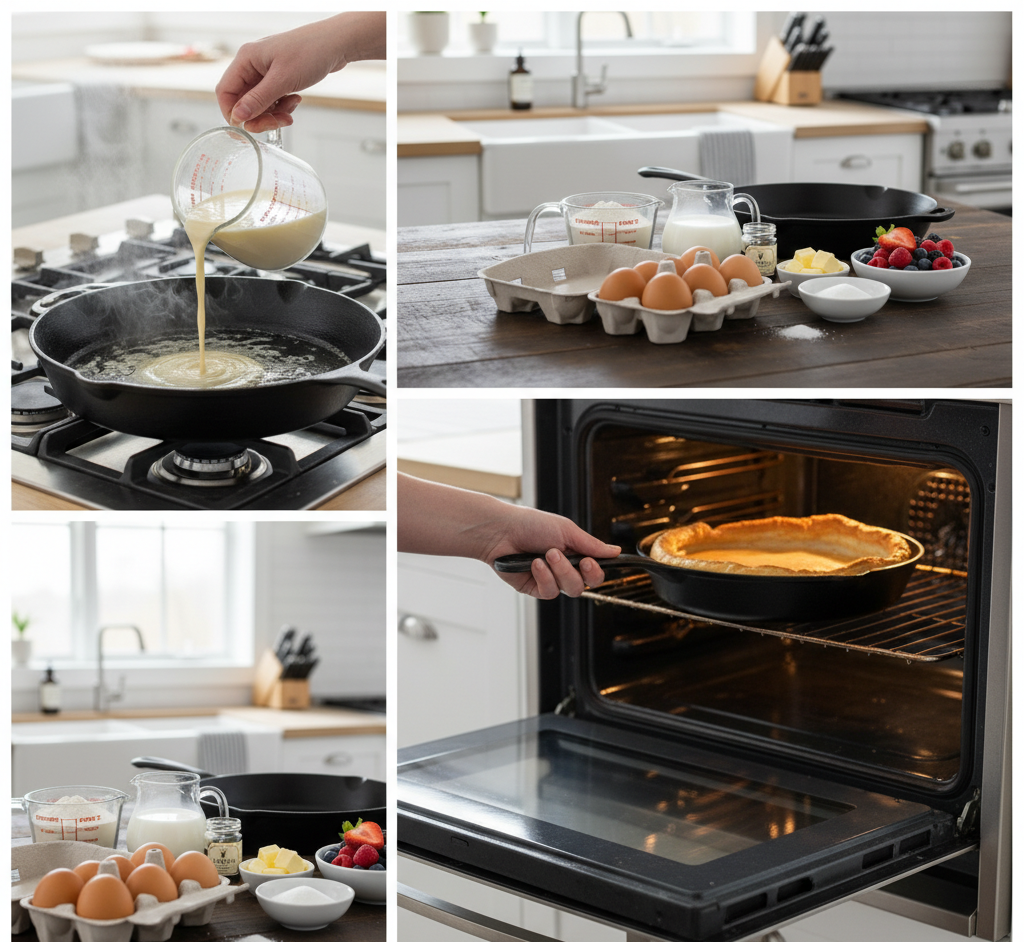
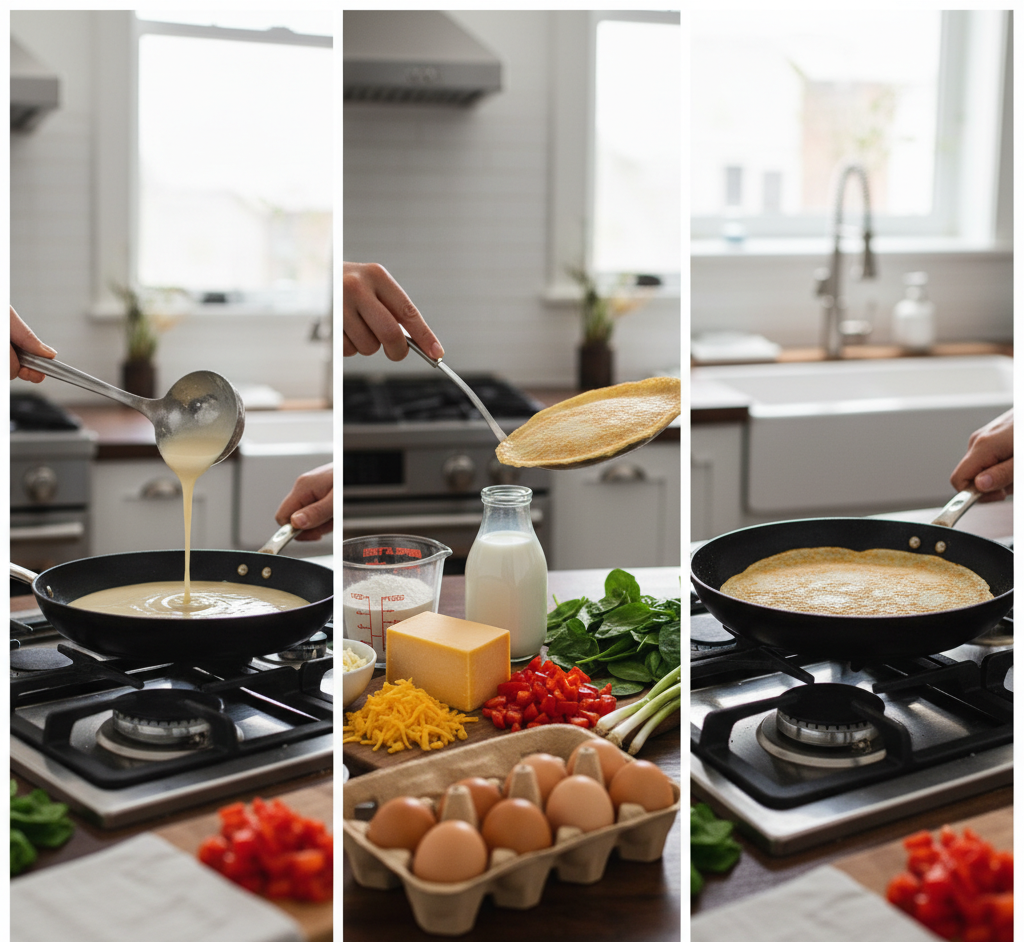
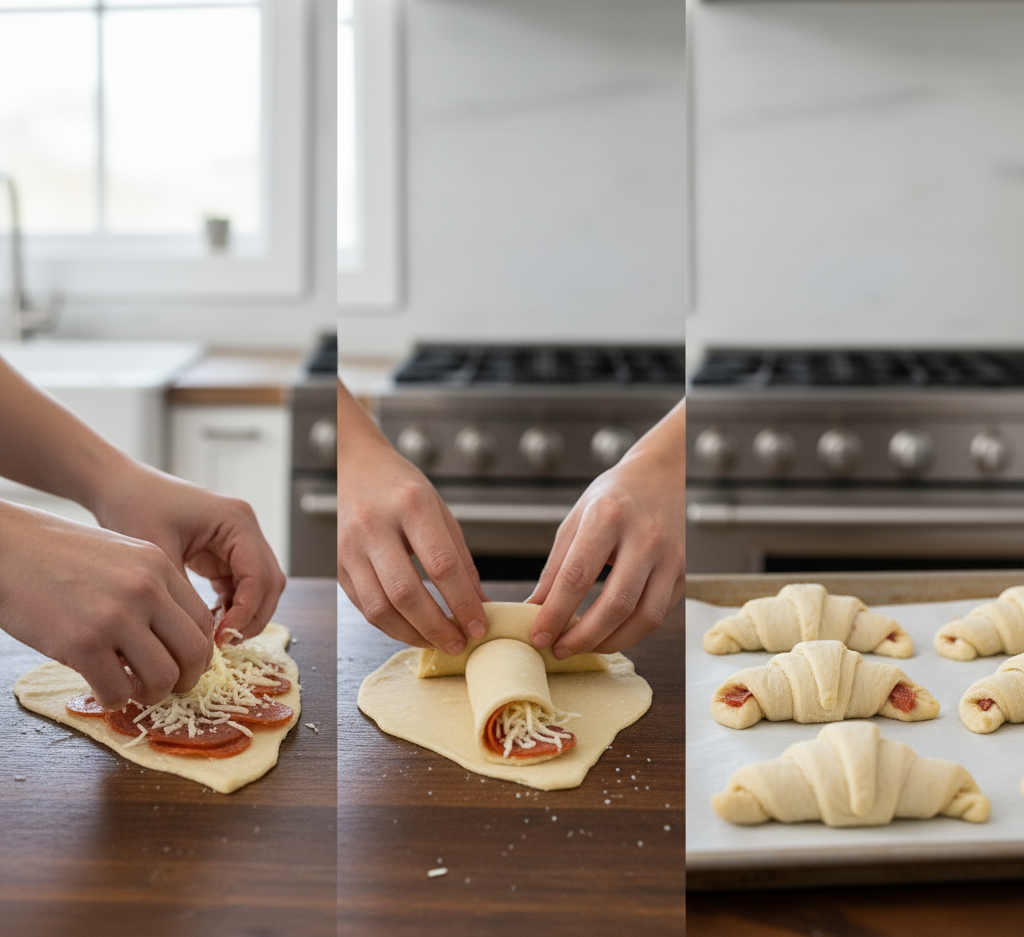
Step-by-Step Instructions
-
Preheat your oven to 375°F (190°C). Lightly grease a baking dish or individual ramekins.
-
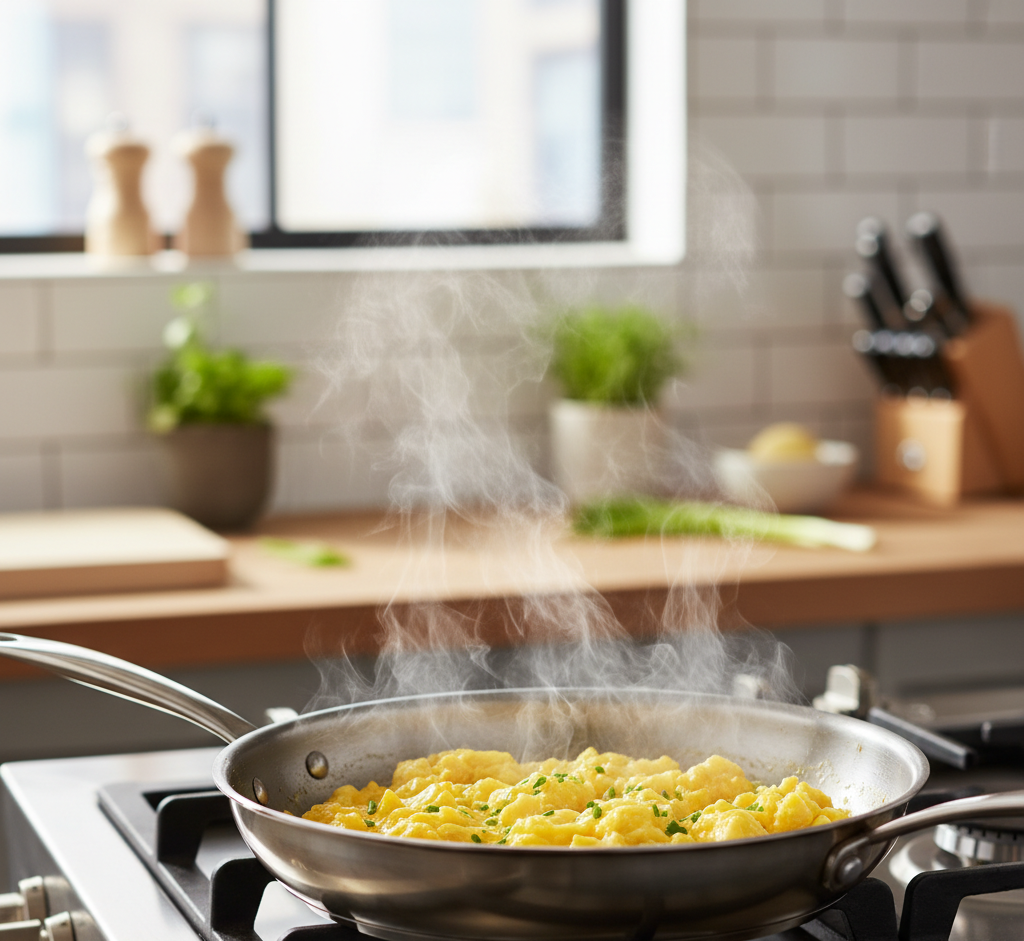
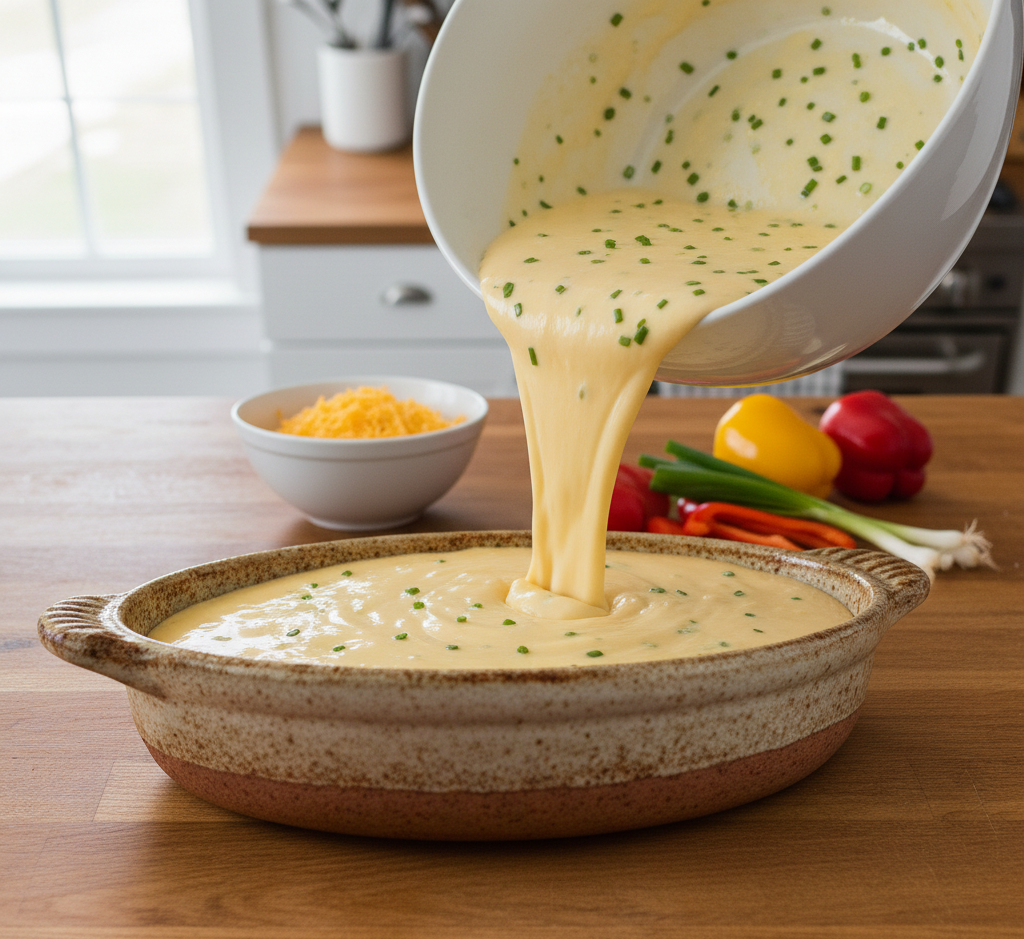
In a large bowl, whisk the eggs until smooth and slightly frothy.
-
Stir in the cottage cheese, shredded cheese, vegetables, salt, and spices.
-
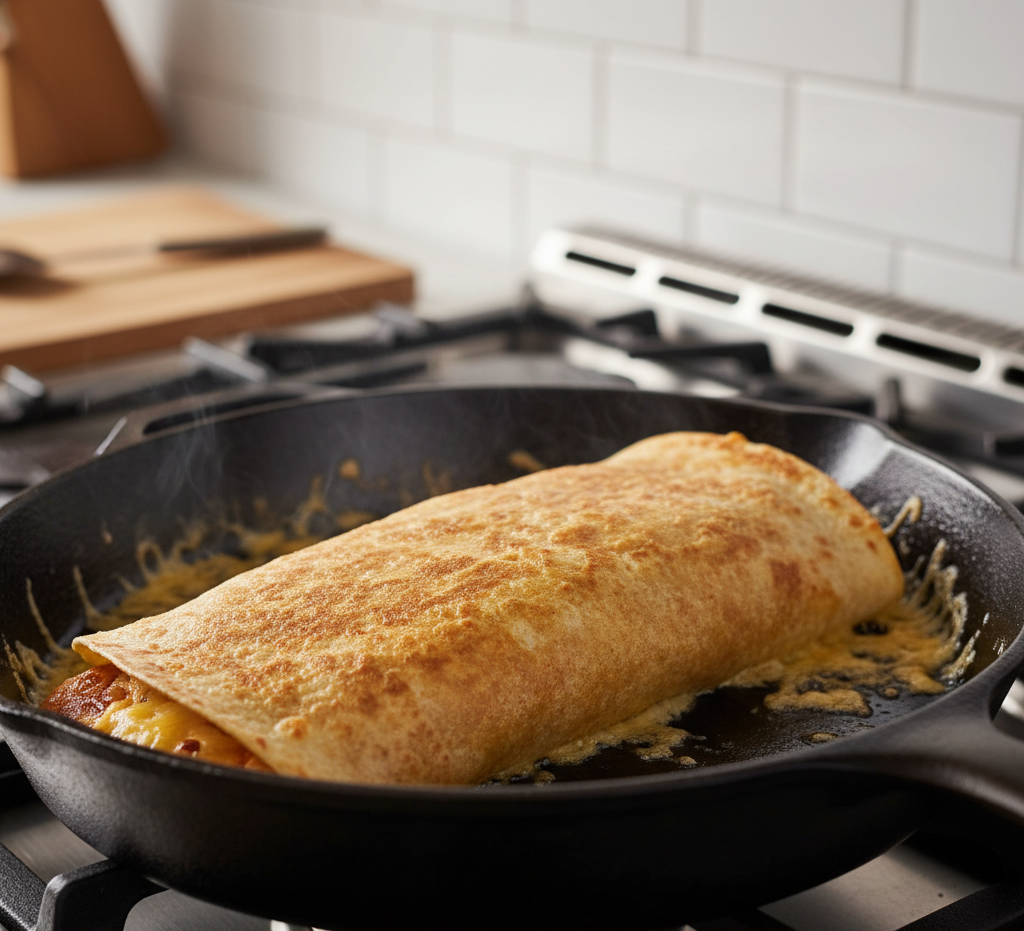
Pour the mixture into the prepared baking dish.
-
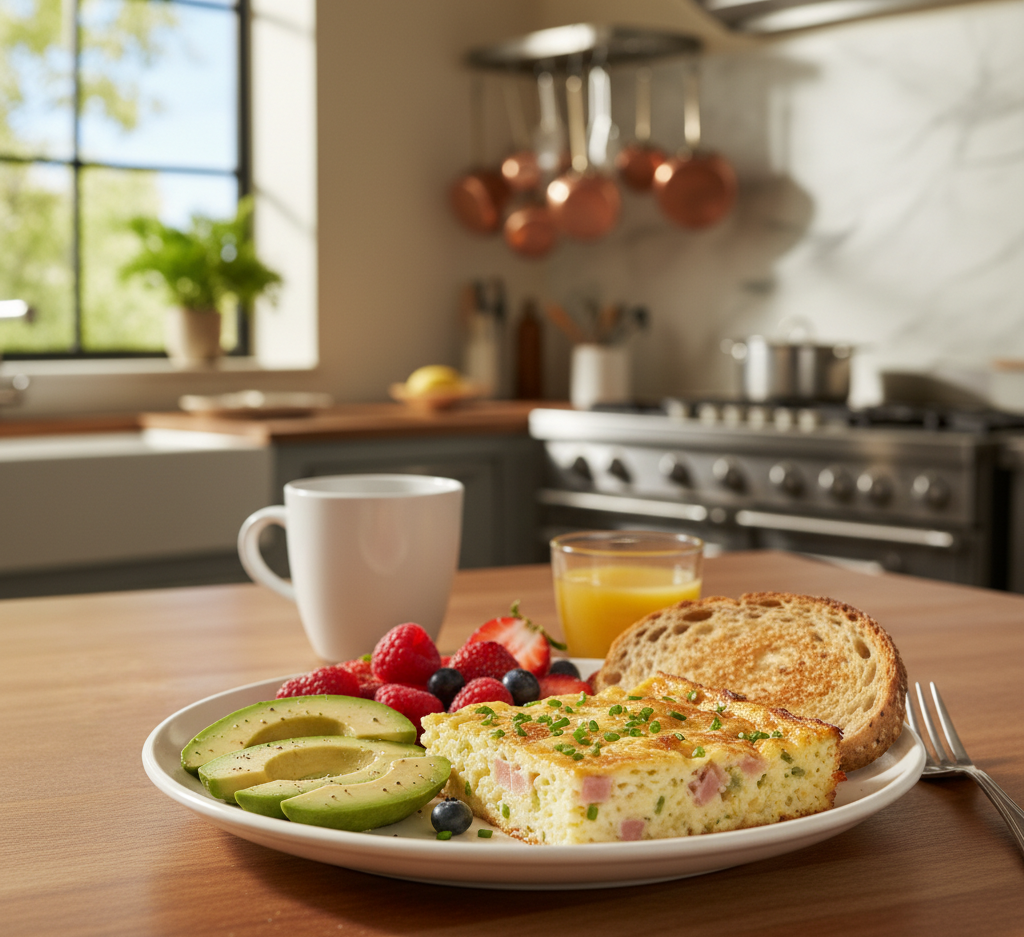
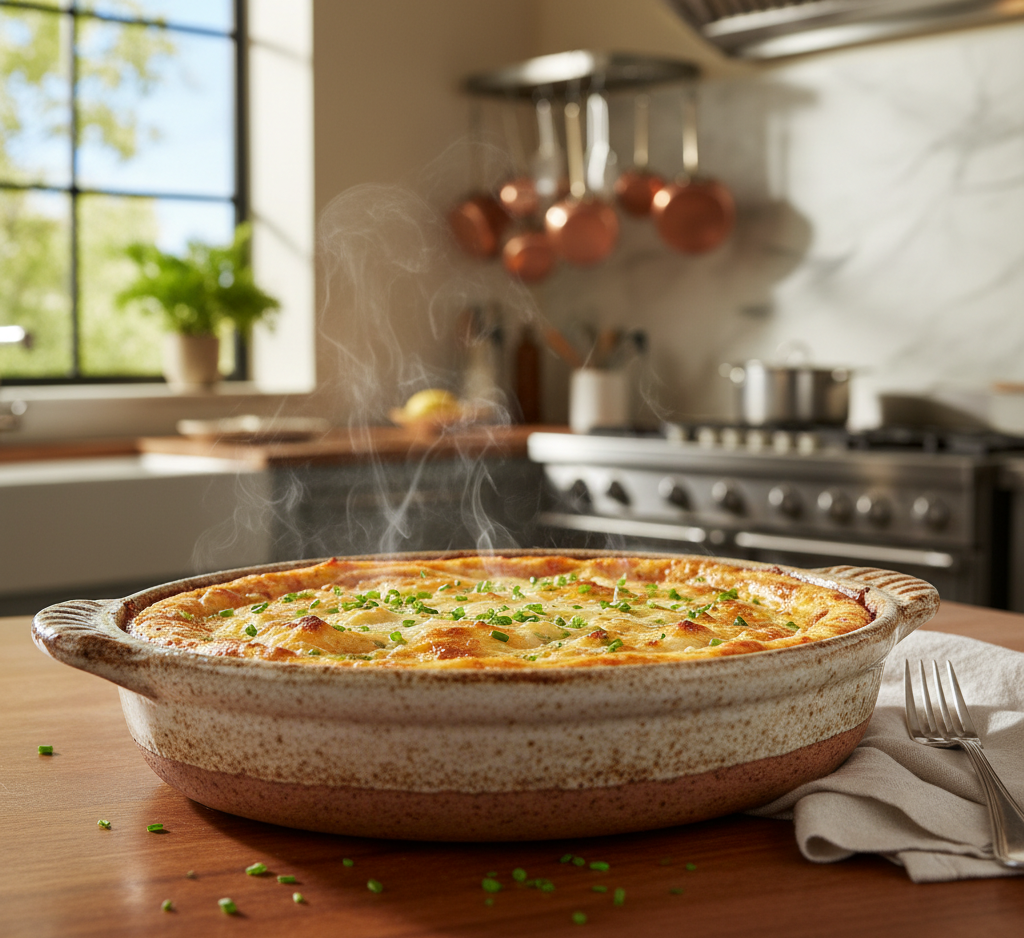
Bake for 25–30 minutes, or until the center is set and the top is lightly golden.
-
Let it cool for 5 minutes before slicing and serving.
This simple process delivers perfectly baked cottage cheese eggs every time.
Tips for Perfect Results
-
Whisk the eggs thoroughly for a fluffy texture.
-
Drain excess liquid from vegetables to prevent a watery casserole.
-
Use freshly shredded cheese for better melting.
-
Avoid overbaking to keep the eggs tender and moist.
-
Let the dish rest before cutting for clean slices.
These small steps ensure your baked cottage cheese eggs turn out light, creamy, and flavorful.
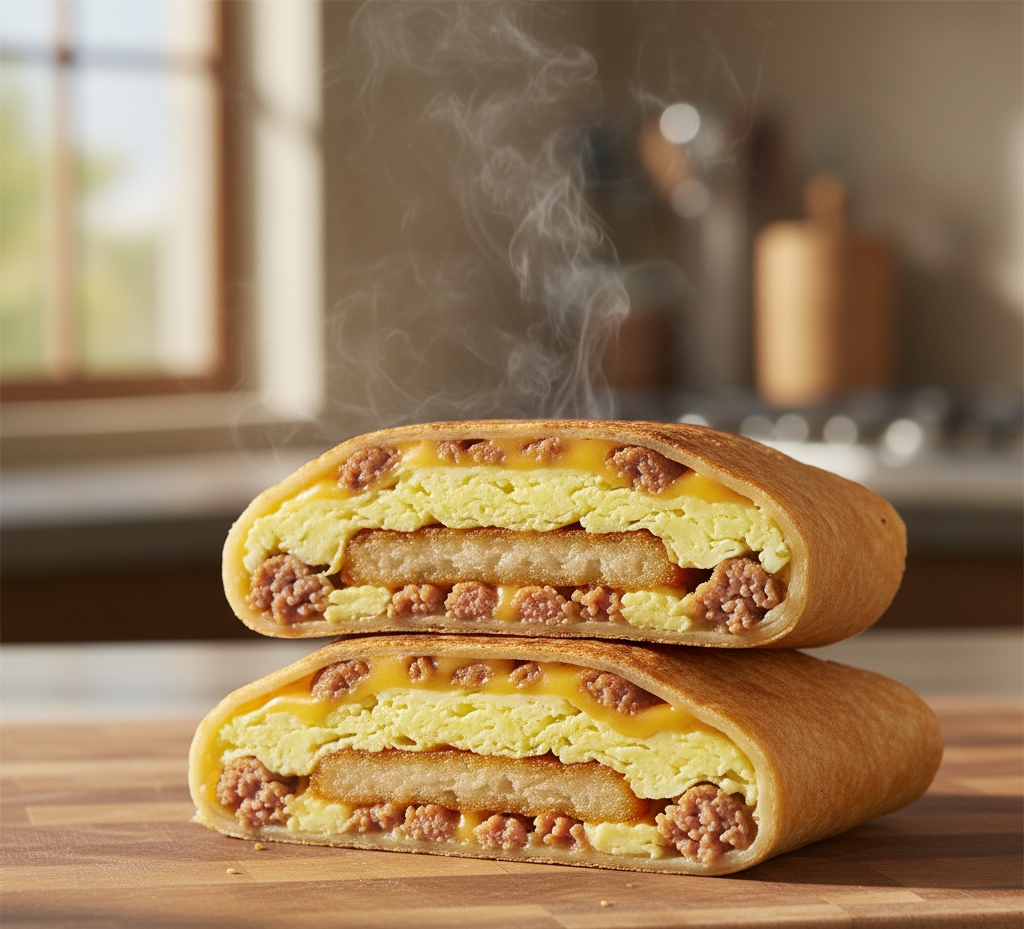
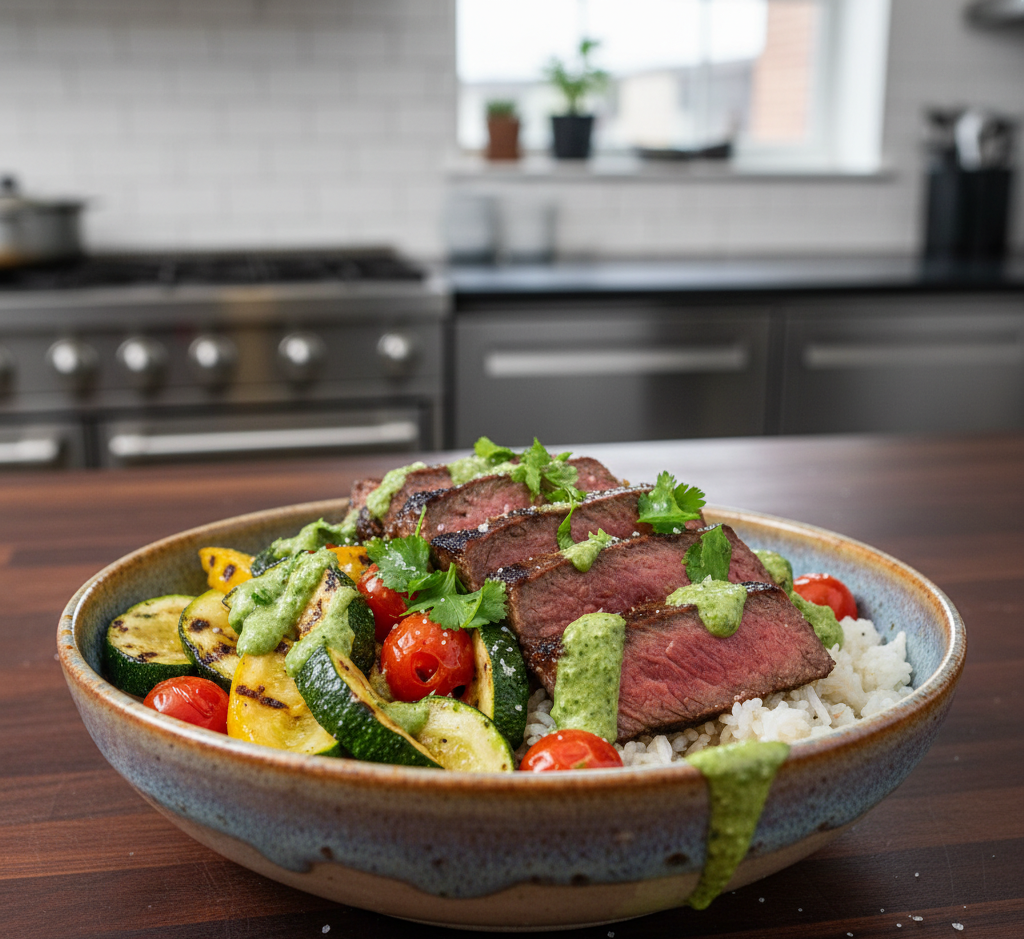
Variations
One of the best things about this recipe is how easy it is to customize:
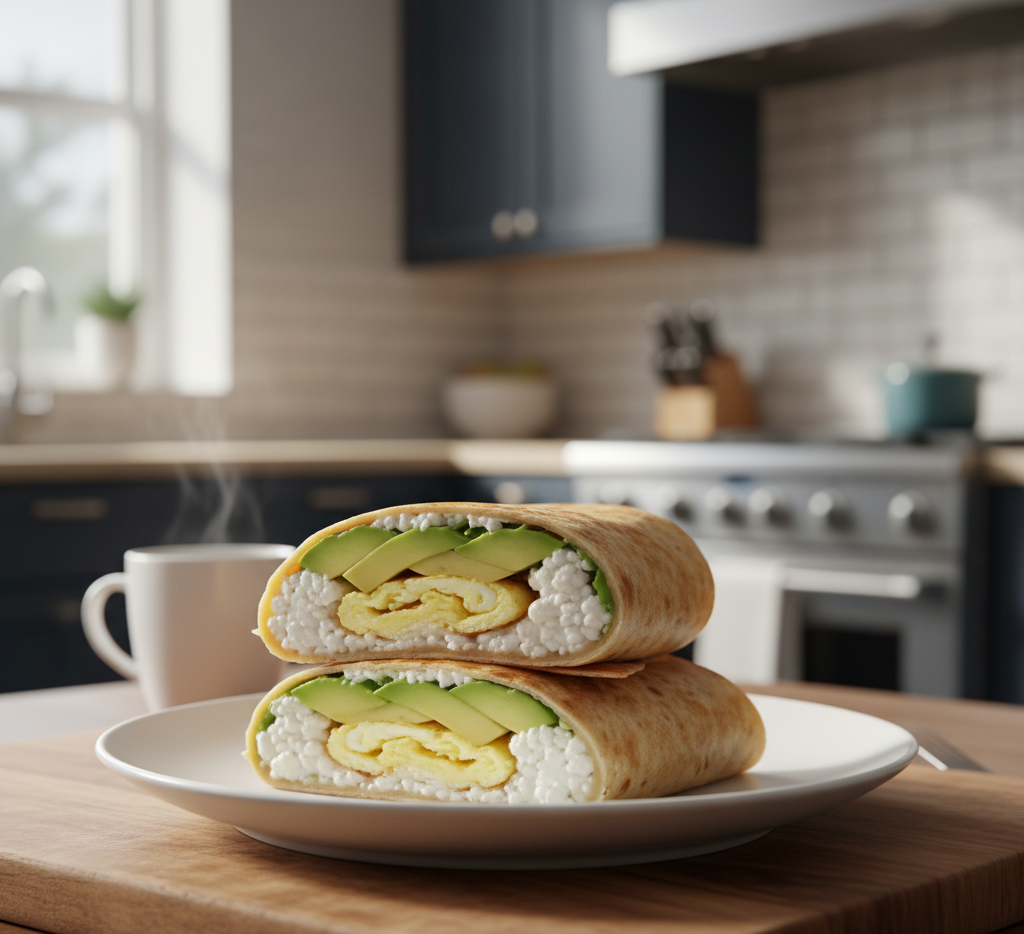
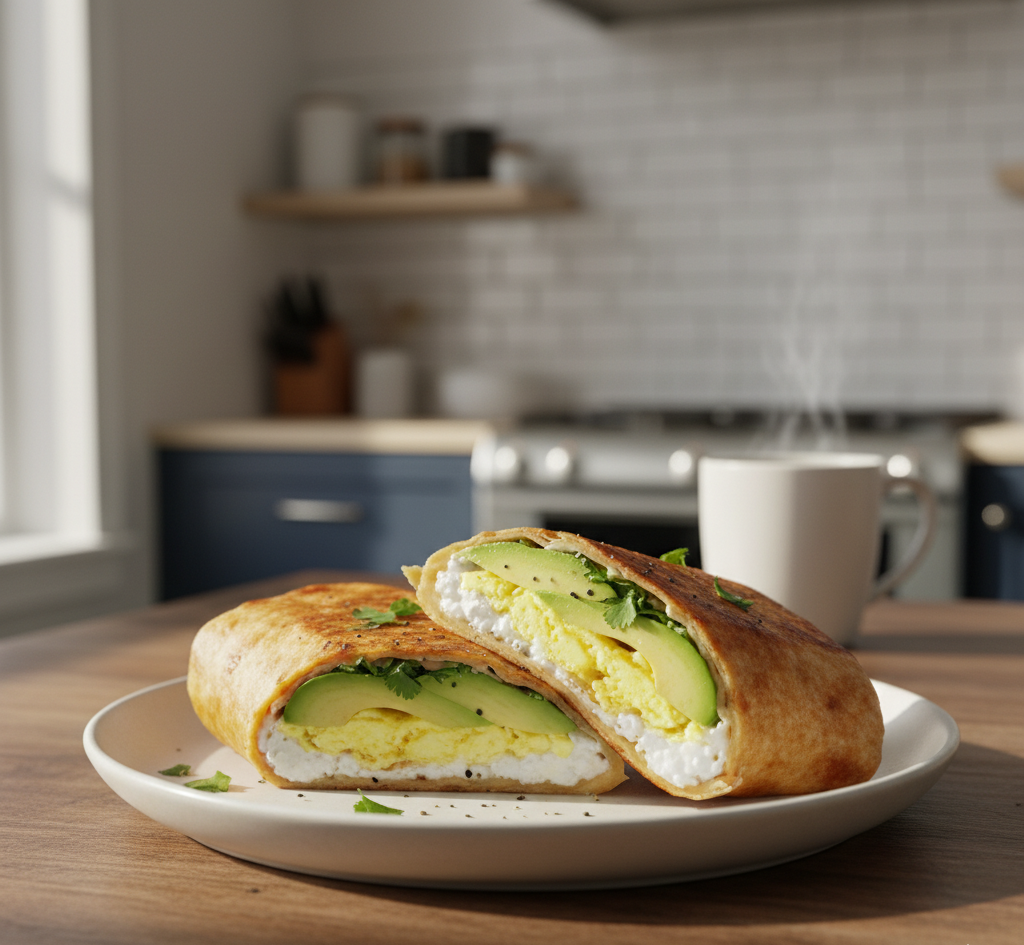
-
Meat Lover’s Version: Add cooked turkey sausage or diced ham.
-
Mediterranean Style: Add olives, feta cheese, and cherry tomatoes.
-
Spicy Kick: Mix in jalapeños or a dash of hot sauce.
-
Vegetarian Deluxe: Load it with mushrooms, onions, and kale.
-
Low-Fat Option: Use low-fat cottage cheese and reduced-fat cheese.
Each variation keeps the heart of the recipe while offering a new flavor profile.
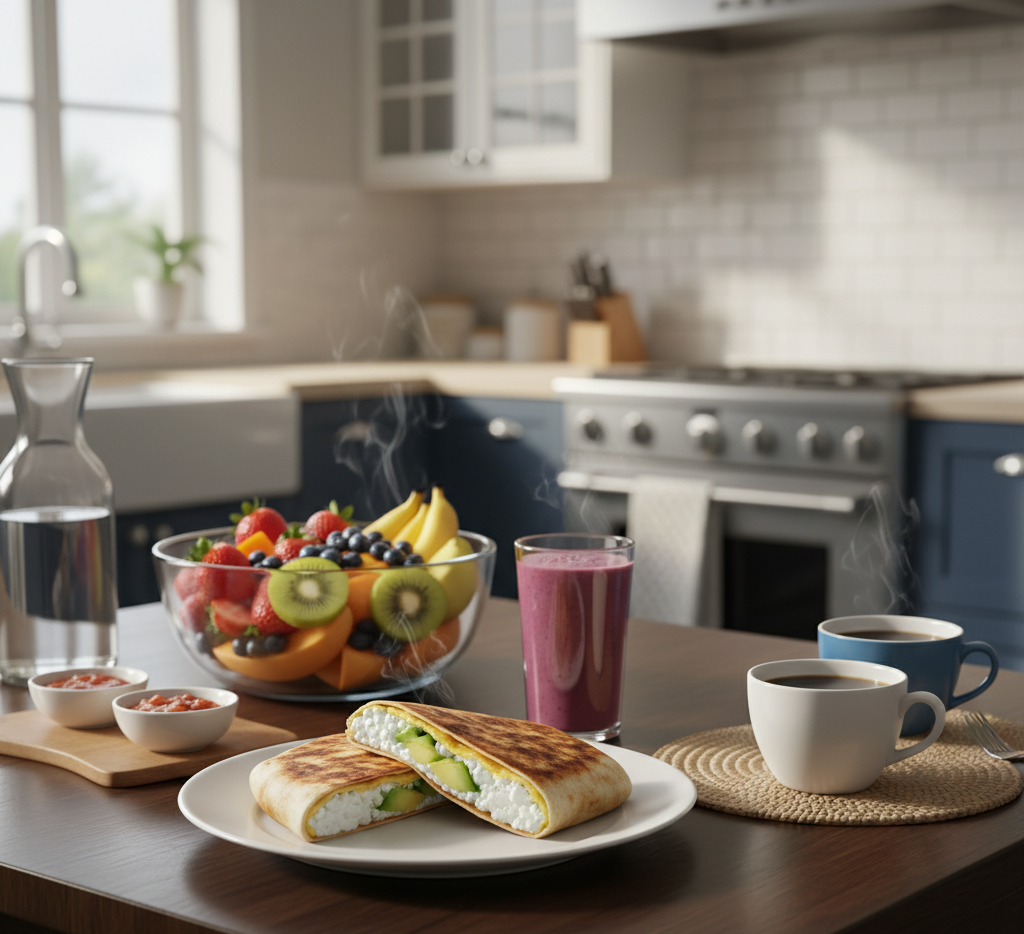
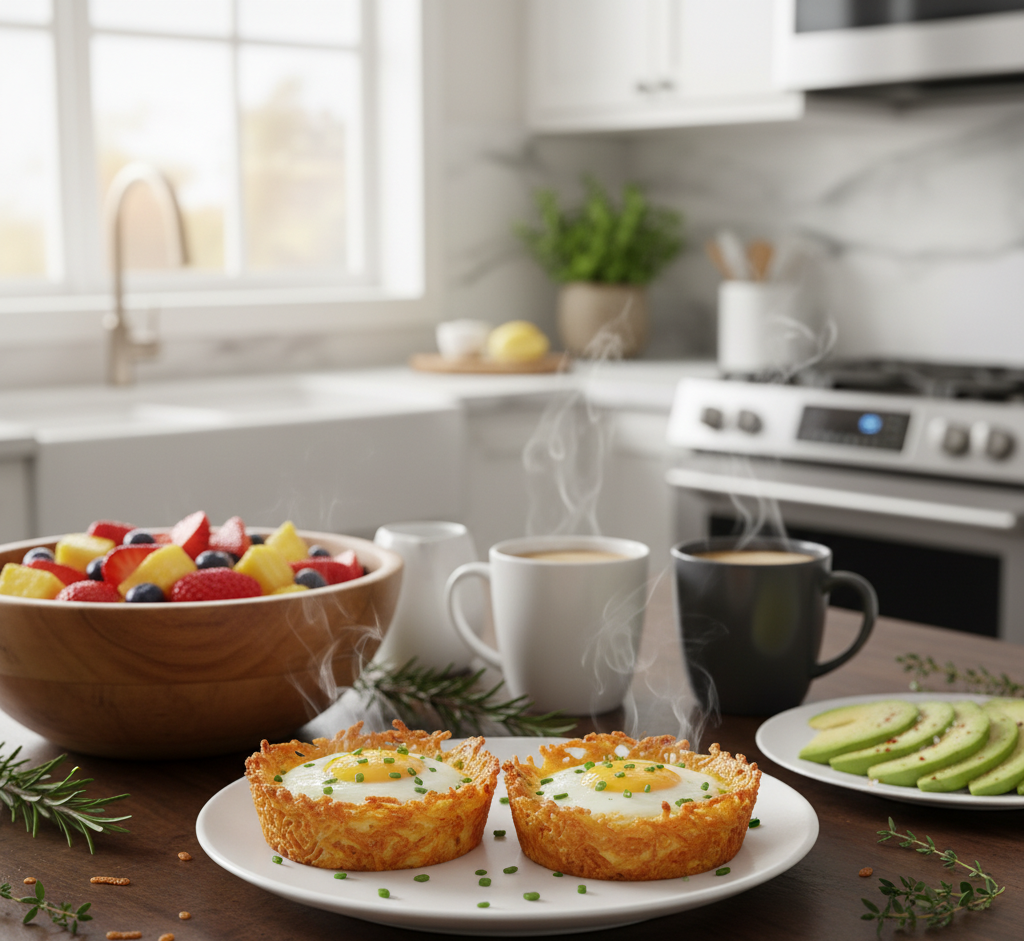
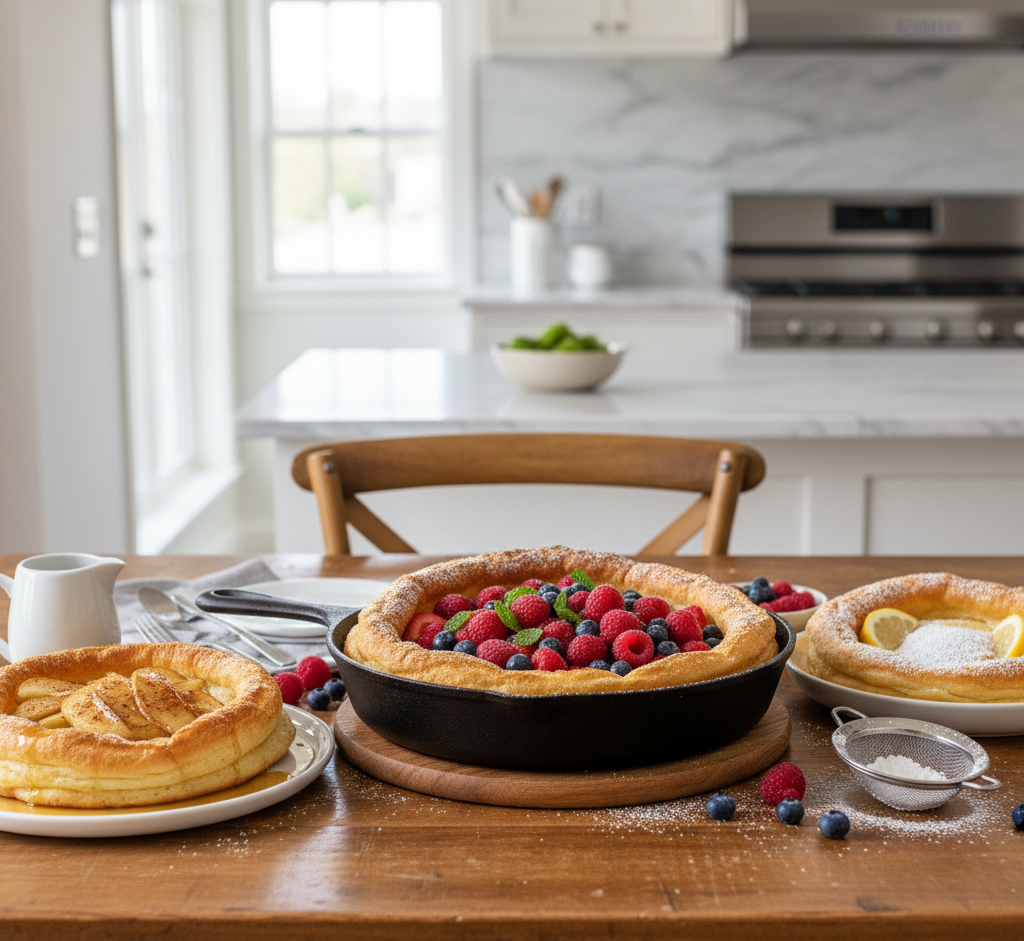
What to Serve With It
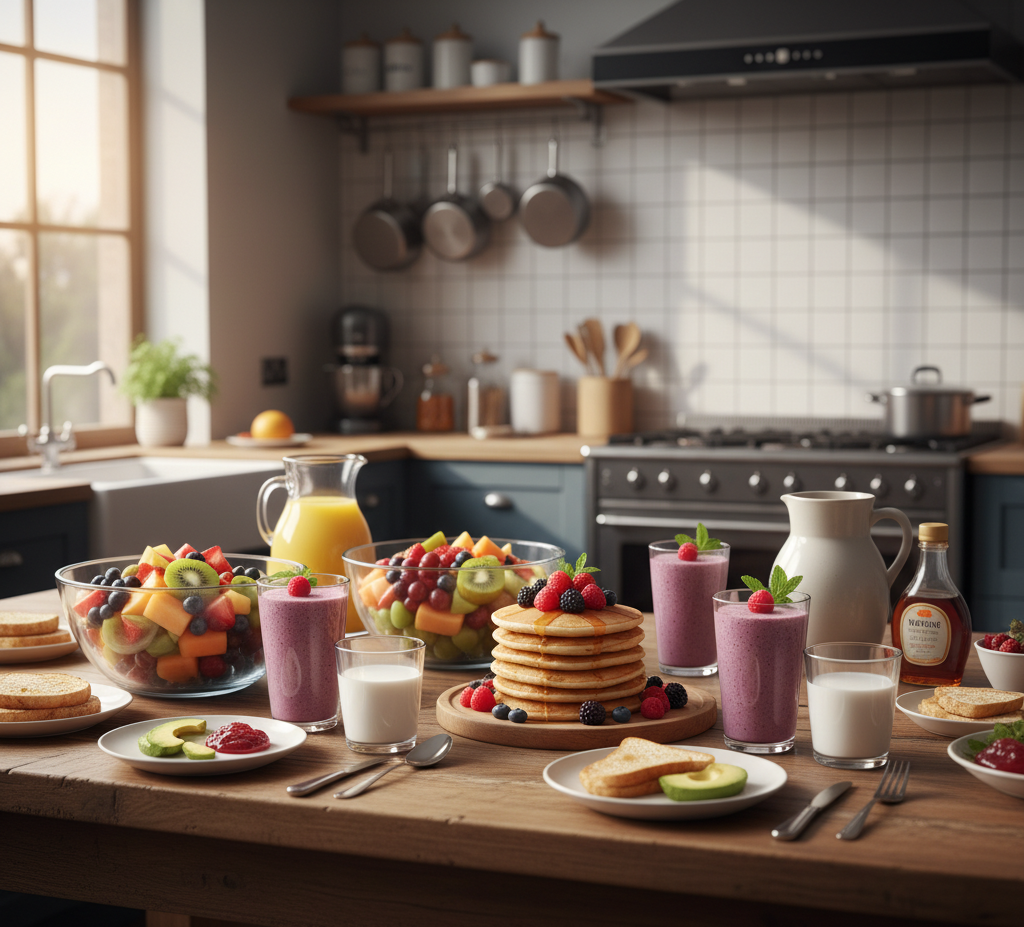
Baked cottage cheese eggs pair beautifully with:
-
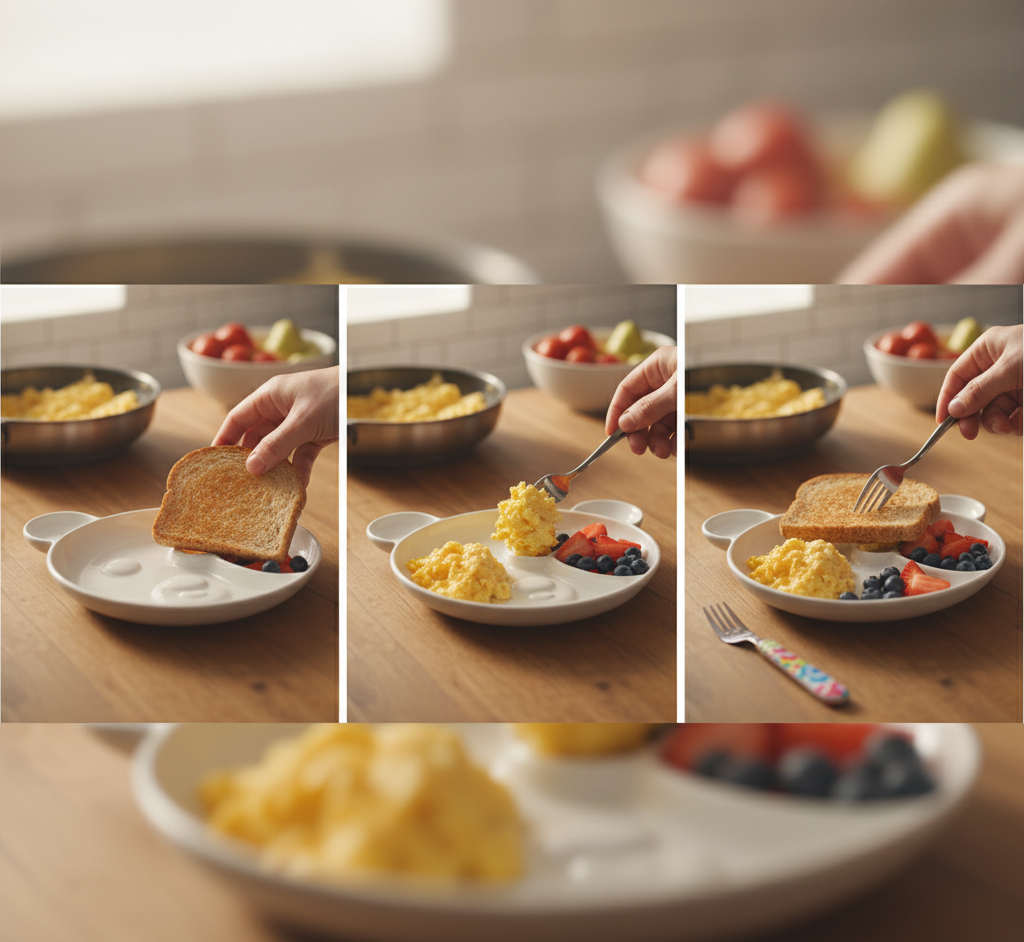
Whole-grain toast or English muffins
-
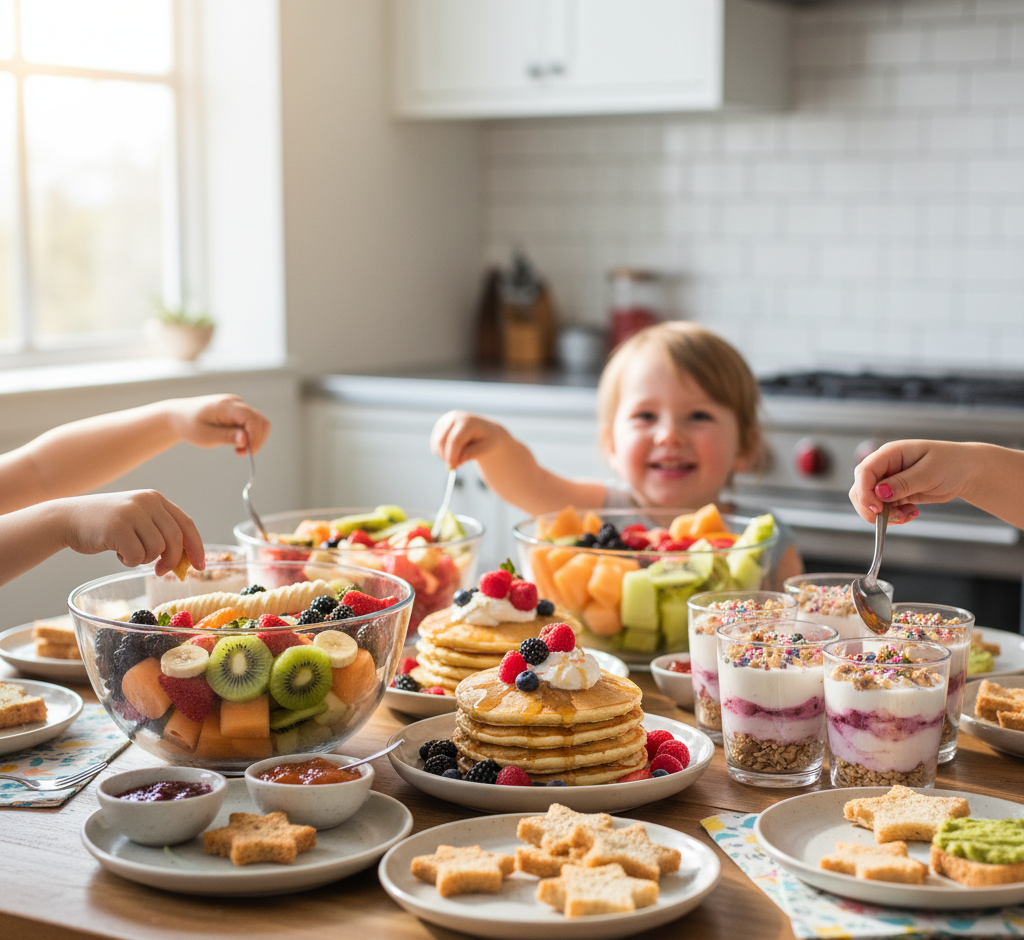
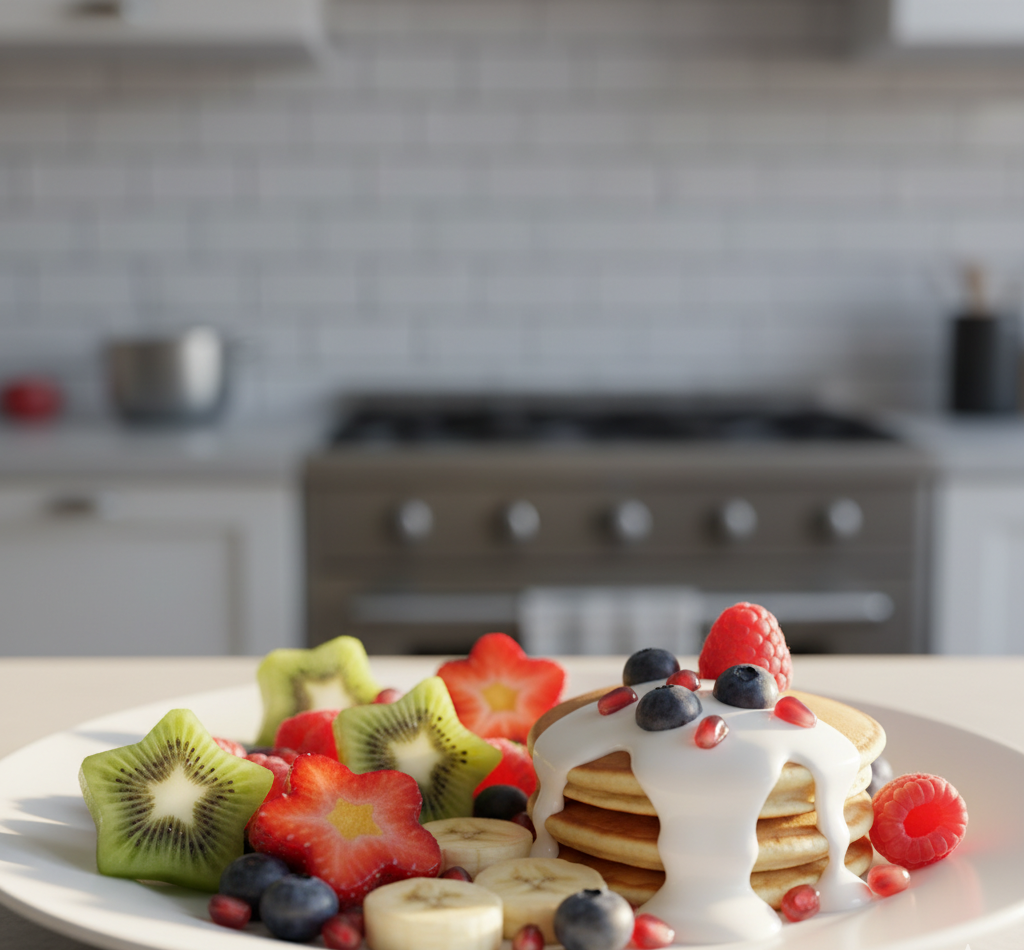
Fresh fruit salad
-
Avocado slices
-
Greek yogurt
-
A light green salad for brunch
This makes it perfect for breakfast, brunch, or even a light dinner.