When mornings are busy but you still want something warm, comforting, and homemade, Egg and Cheese Toasts: Crispy, Cheesy, and Amazingly Quick is the answer. This simple recipe transforms basic pantry ingredients into a satisfying breakfast or snack that feels indulgent without being complicated. With golden toasted bread, fluffy eggs, and melted cheese, every bite is packed with flavor and texture.
What makes egg and cheese toasts so popular is their versatility. They can be served as a quick weekday breakfast, a lazy weekend brunch option, or even a light dinner when paired with soup or salad. Best of all, they come together in minutes, making them ideal for families, students, and anyone who wants great food without spending hours in the kitchen.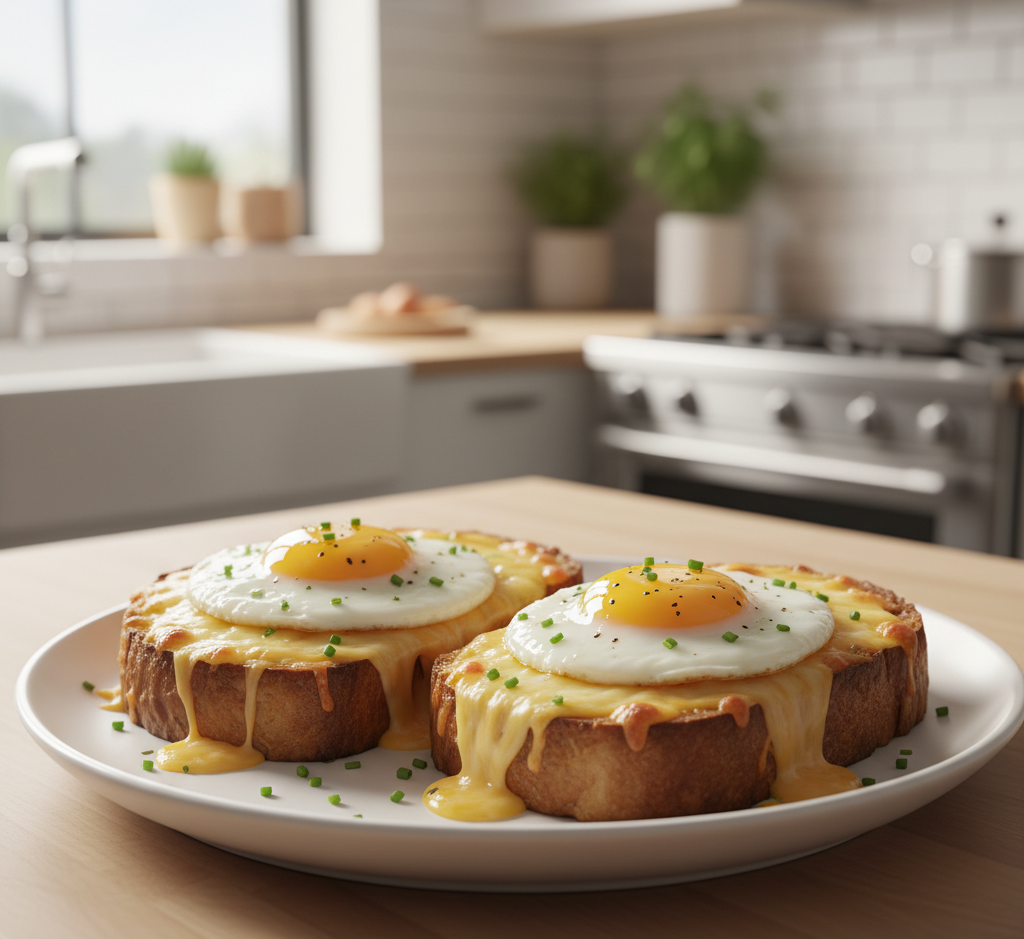
Why You’ll Love This Recipe
Egg and Cheese Toasts: Crispy, Cheesy, and Amazingly Quick is a recipe you’ll come back to again and again. It combines comfort food flavors with fast preparation, which is exactly what modern home cooks want. The contrast between crunchy bread and creamy cheese makes this dish incredibly satisfying, while the egg adds protein and richness.
You’ll love this recipe because:
-
It’s ready in under 15 minutes
-
It uses simple, affordable ingredients
-
It’s customizable with endless toppings
-
It works for breakfast, brunch, or a light meal
-
It’s kid-friendly and adult-approved
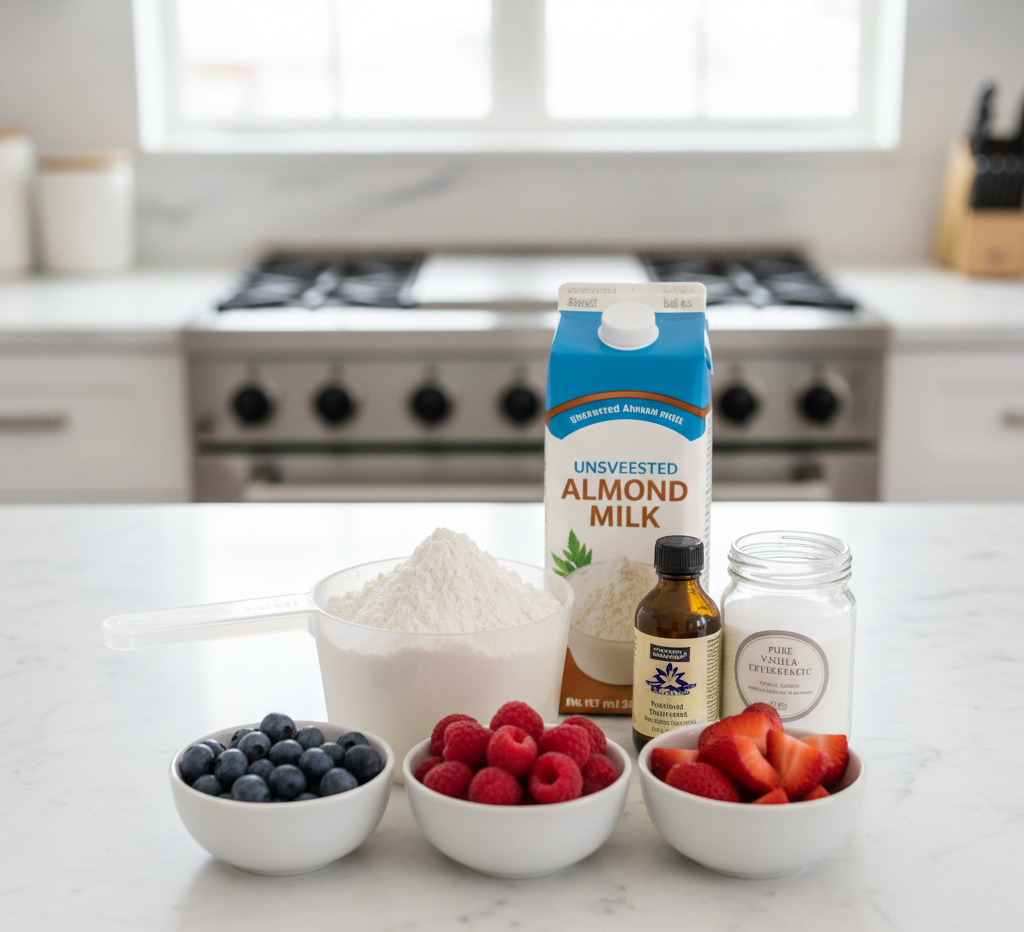
Ingredients
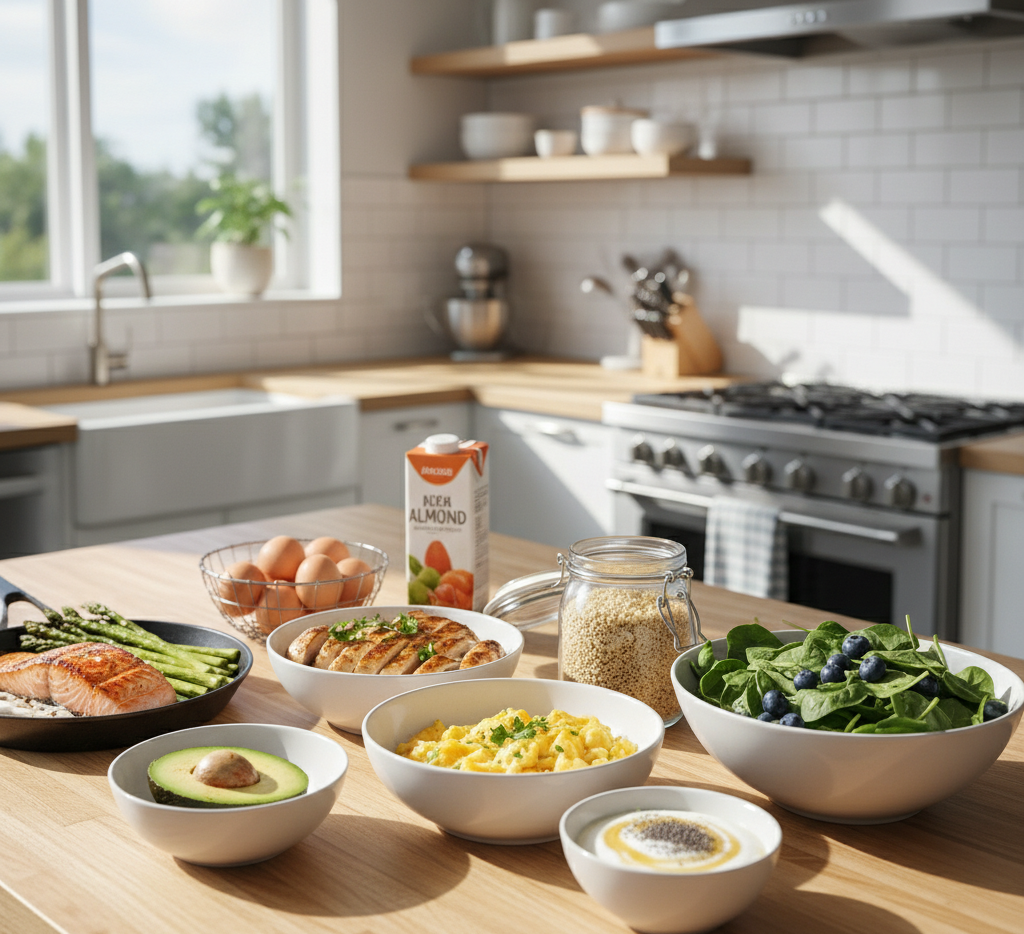
This Egg and Cheese Toasts recipe requires only a handful of ingredients, but each one plays an important role in building flavor and texture.
-
4 slices of bread (white, whole wheat, sourdough, or brioche)
-
4 large eggs
-
1 cup shredded cheese (cheddar, mozzarella, or a blend)
-
2 tablespoons butter or olive oil
-
Salt and black pepper to taste
-
Optional: garlic powder, paprika, or dried herbs
Ingredient Notes
Bread choice matters in Egg and Cheese Toasts: Crispy, Cheesy, and Amazingly Quick. Thick-cut bread creates a sturdier base that holds the egg and cheese without getting soggy. Sourdough adds a tangy depth, while brioche gives a rich, buttery flavor. Cheese selection also impacts the final result—cheddar provides sharpness, mozzarella adds stretchiness, and Swiss gives a nutty finish. For the best melt, grate your own cheese instead of using pre-shredded varieties.
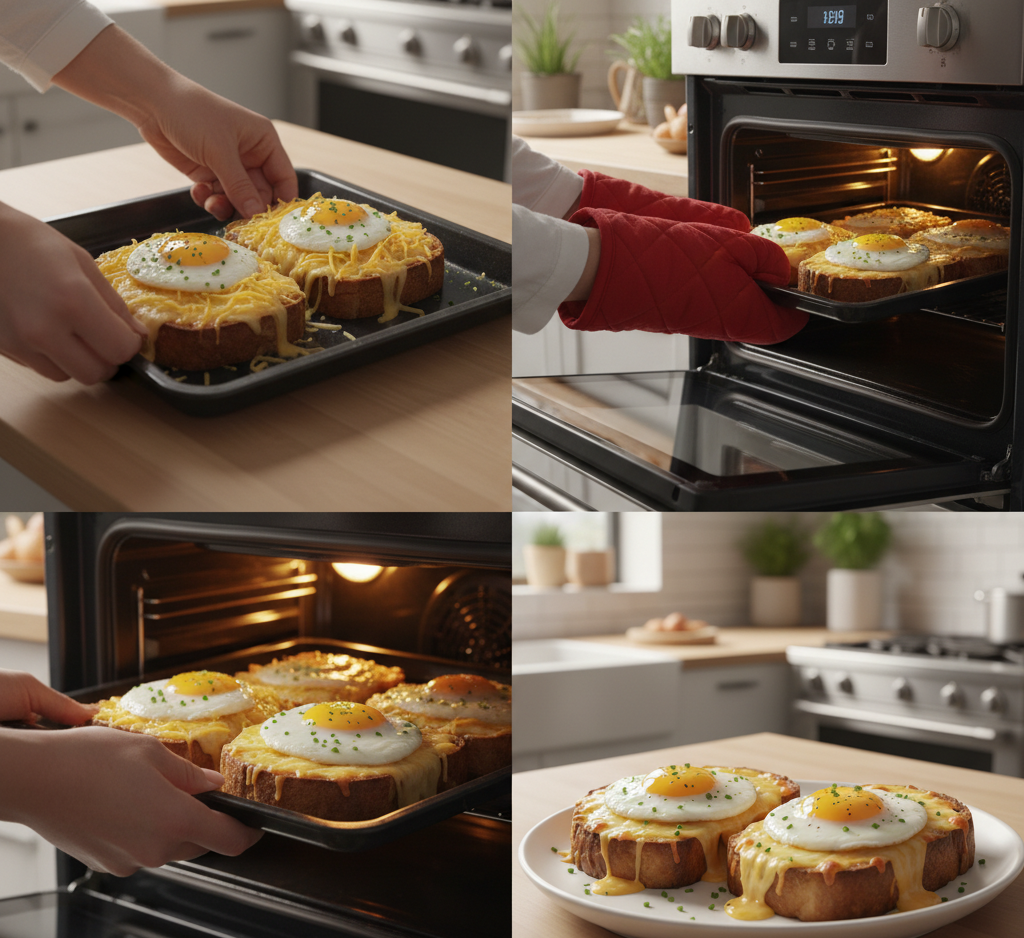
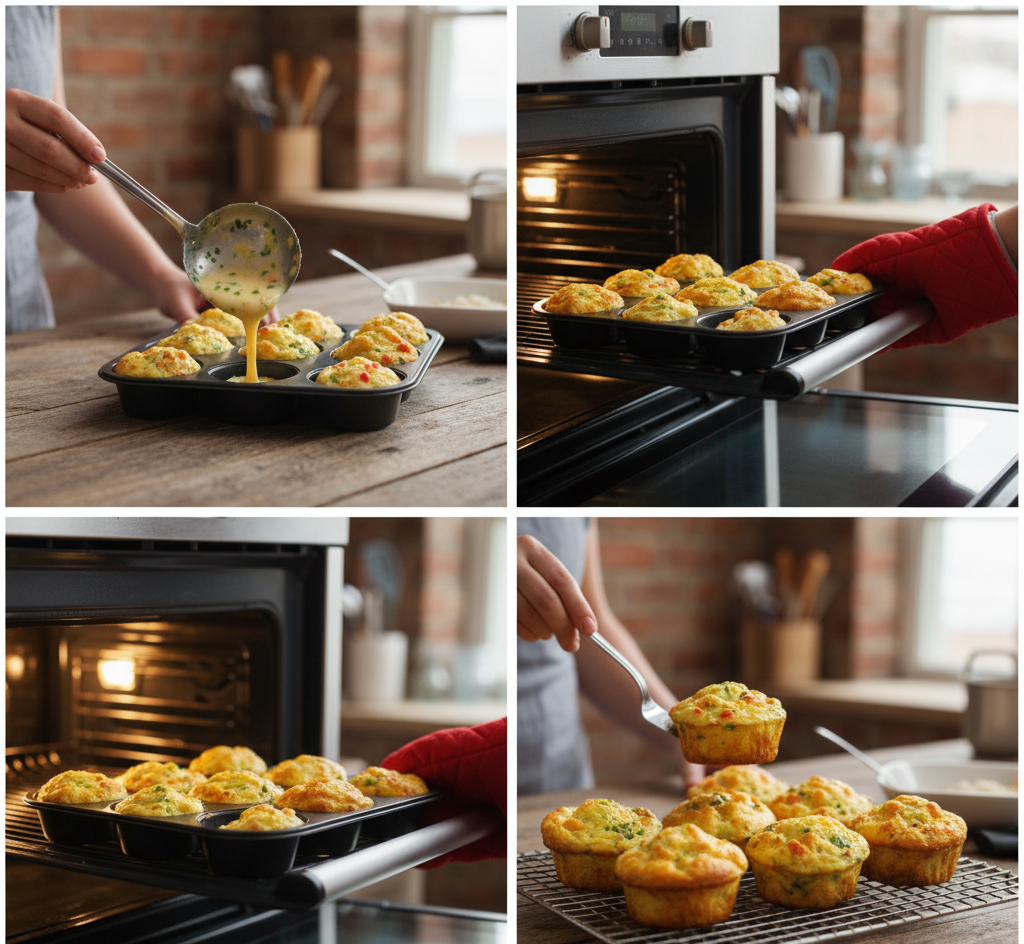
Step-by-Step Instructions
Making Egg and Cheese Toasts: Crispy, Cheesy, and Amazingly Quick is simple and beginner-friendly.
-
Preheat your oven to 375°F (190°C) or use a skillet on medium heat.
-
Lightly toast the bread slices on one side only.
-
Butter the untoasted side and crack one egg onto each slice.
-
Sprinkle shredded cheese over the egg and season with salt and pepper.
-
Place the toasts on a baking sheet and bake for 10–12 minutes, or until the egg is set and the cheese is melted.
-
Remove from the oven and serve immediately while hot and crispy.
Tips for Perfect Results
To get the best Egg and Cheese Toasts every time, keep an eye on the baking time. If you prefer runny yolks, remove the toasts earlier; for fully cooked eggs, bake a few minutes longer. Toasting the bread first prevents sogginess and ensures a crisp base. For extra flavor, brush the bread lightly with garlic butter before adding the egg and cheese.
Pro tips:
-
Use room-temperature eggs for even cooking
-
Add cheese around the egg edges for better melt
-
Season lightly if your cheese is salty
-
Serve immediately for best texture
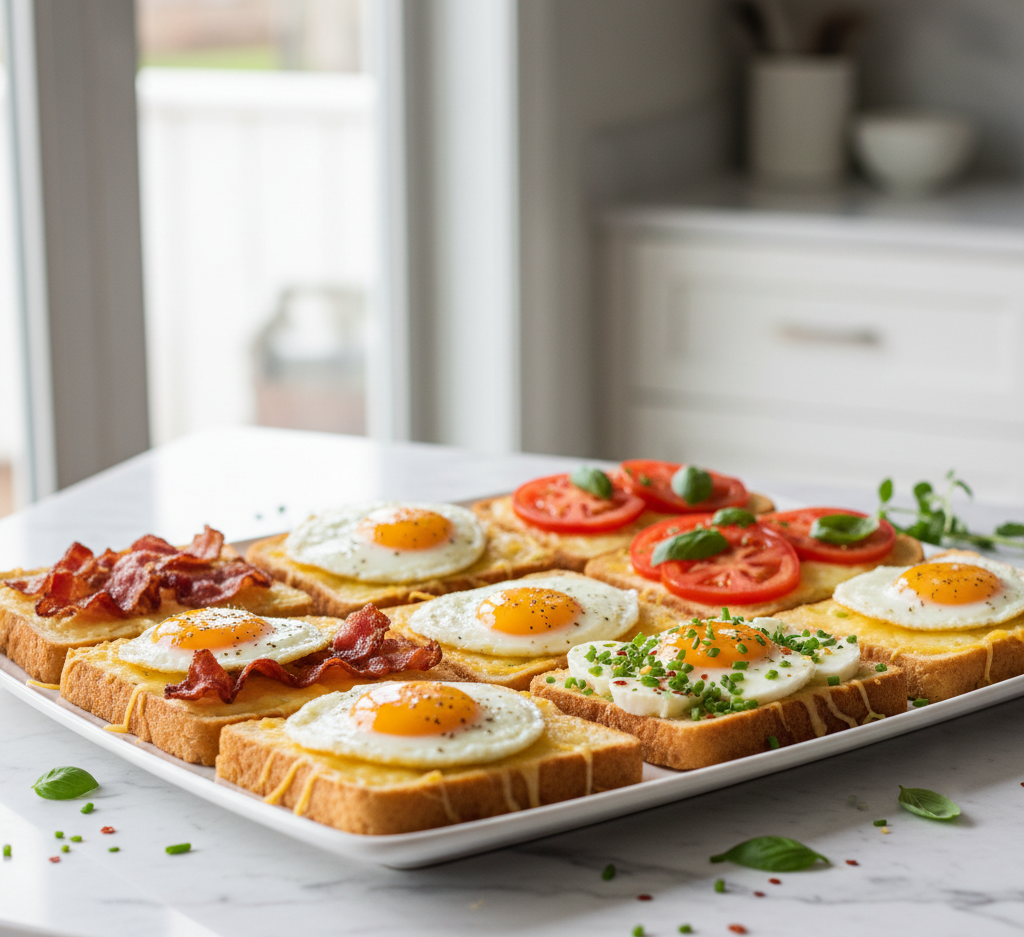
Variations
One of the best things about Egg and Cheese Toasts: Crispy, Cheesy, and Amazingly Quick is how easy it is to customize. You can add protein, vegetables, or spices to suit your taste or dietary needs.
Popular variations include:
-
Bacon and cheddar egg toasts
-
Spinach and mozzarella version
-
Tomato and basil egg toasts
-
Spicy version with chili flakes or jalapeños
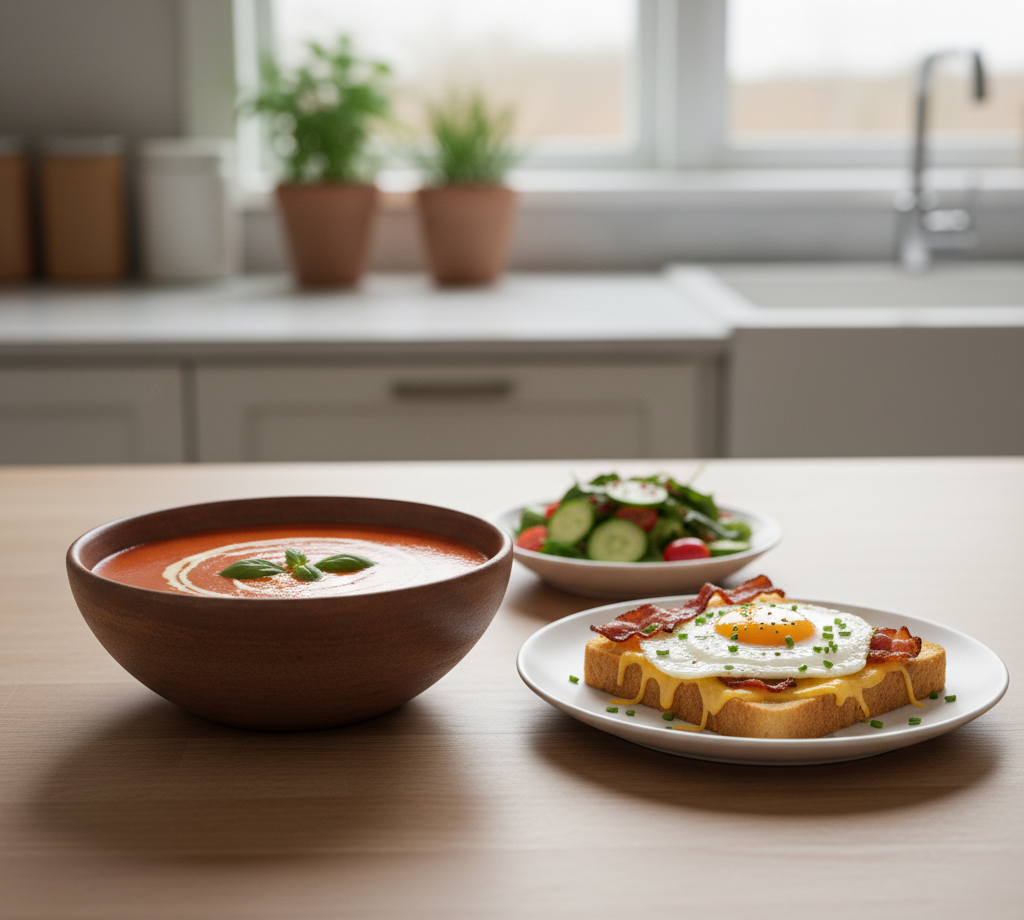
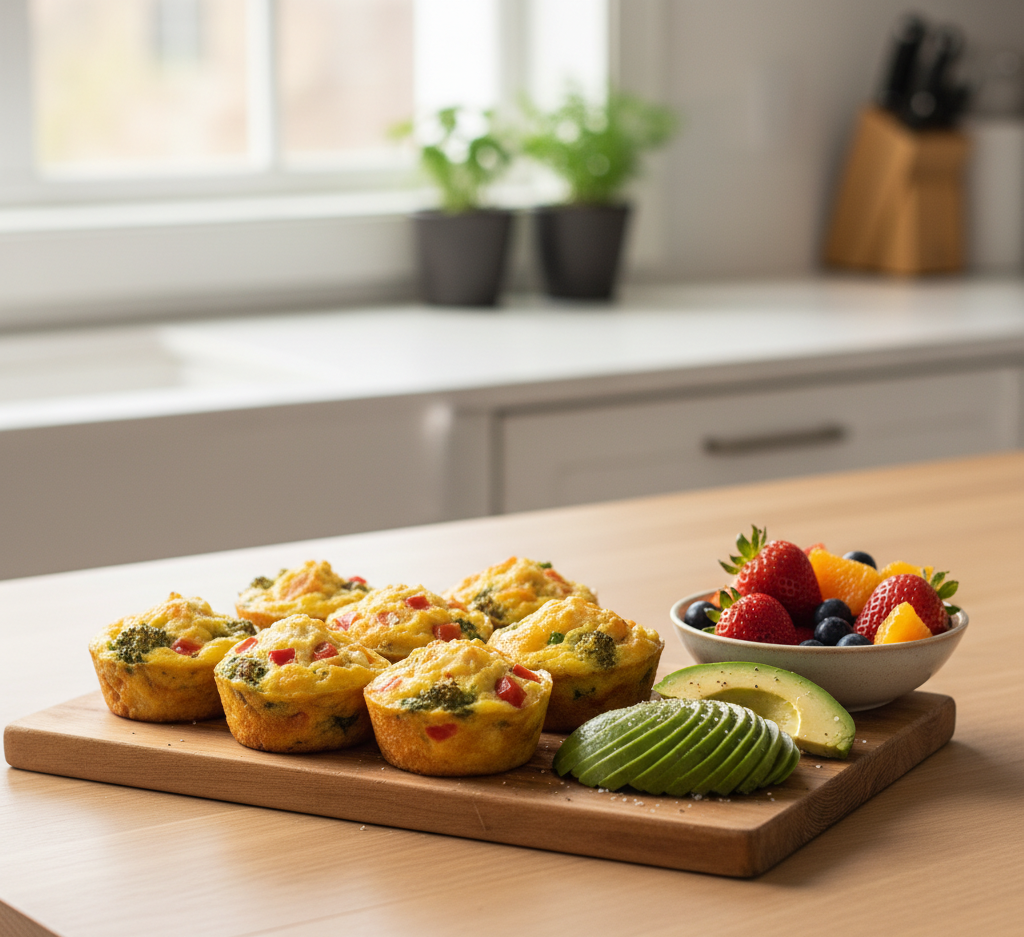
What to Serve With It
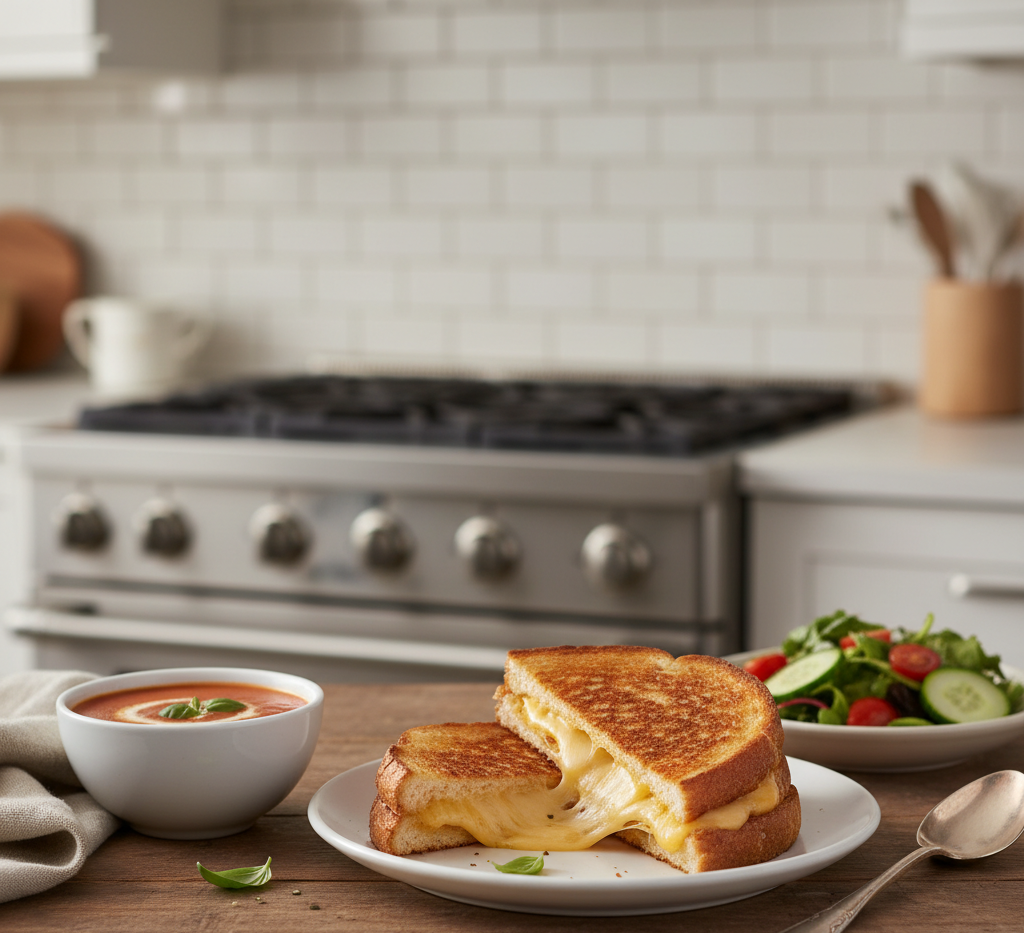
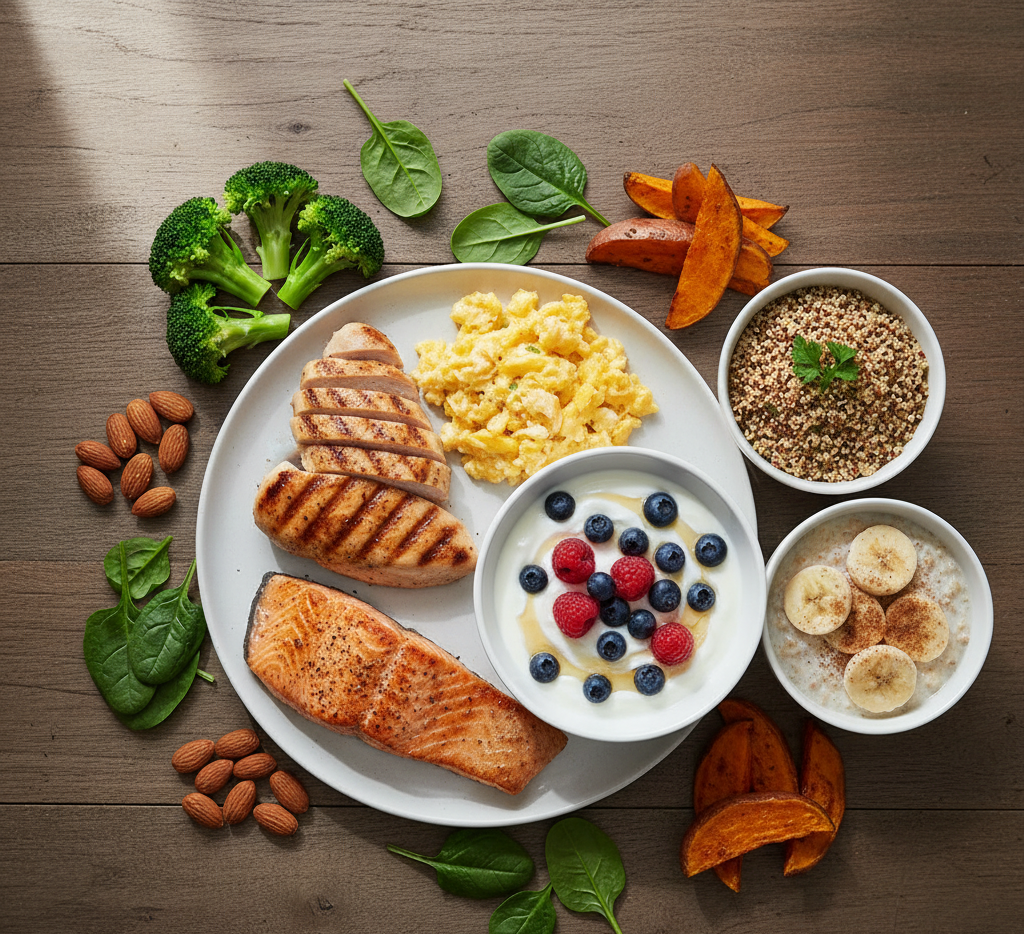
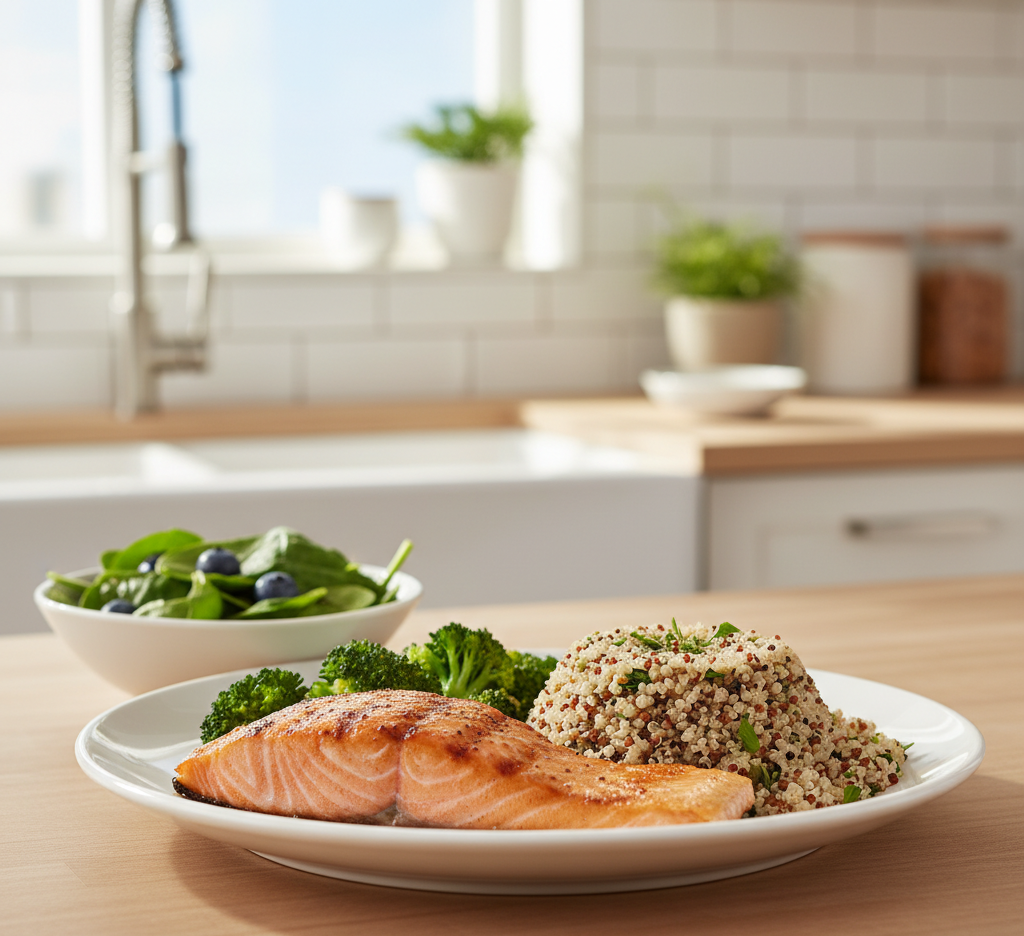
Egg and Cheese Toasts pair beautifully with simple sides. For breakfast, serve them with fresh fruit, yogurt, or a smoothie. For brunch, add roasted potatoes or a small green salad. If you’re enjoying them for lunch or dinner, tomato soup or vegetable soup makes a cozy and complete meal.
-


 |
|